I’ve decided to release my cinema 4d projection planning tool called BOOMERANG that I’ve been using for quite a few years now to the community. The base of this started with a project shared by my friend Luke where he had built the core of the projector in Espresso in c4d and from there I’ve added a few things and wrote an export script so the projection plan can be exported as a csv and imported directly into disguise.
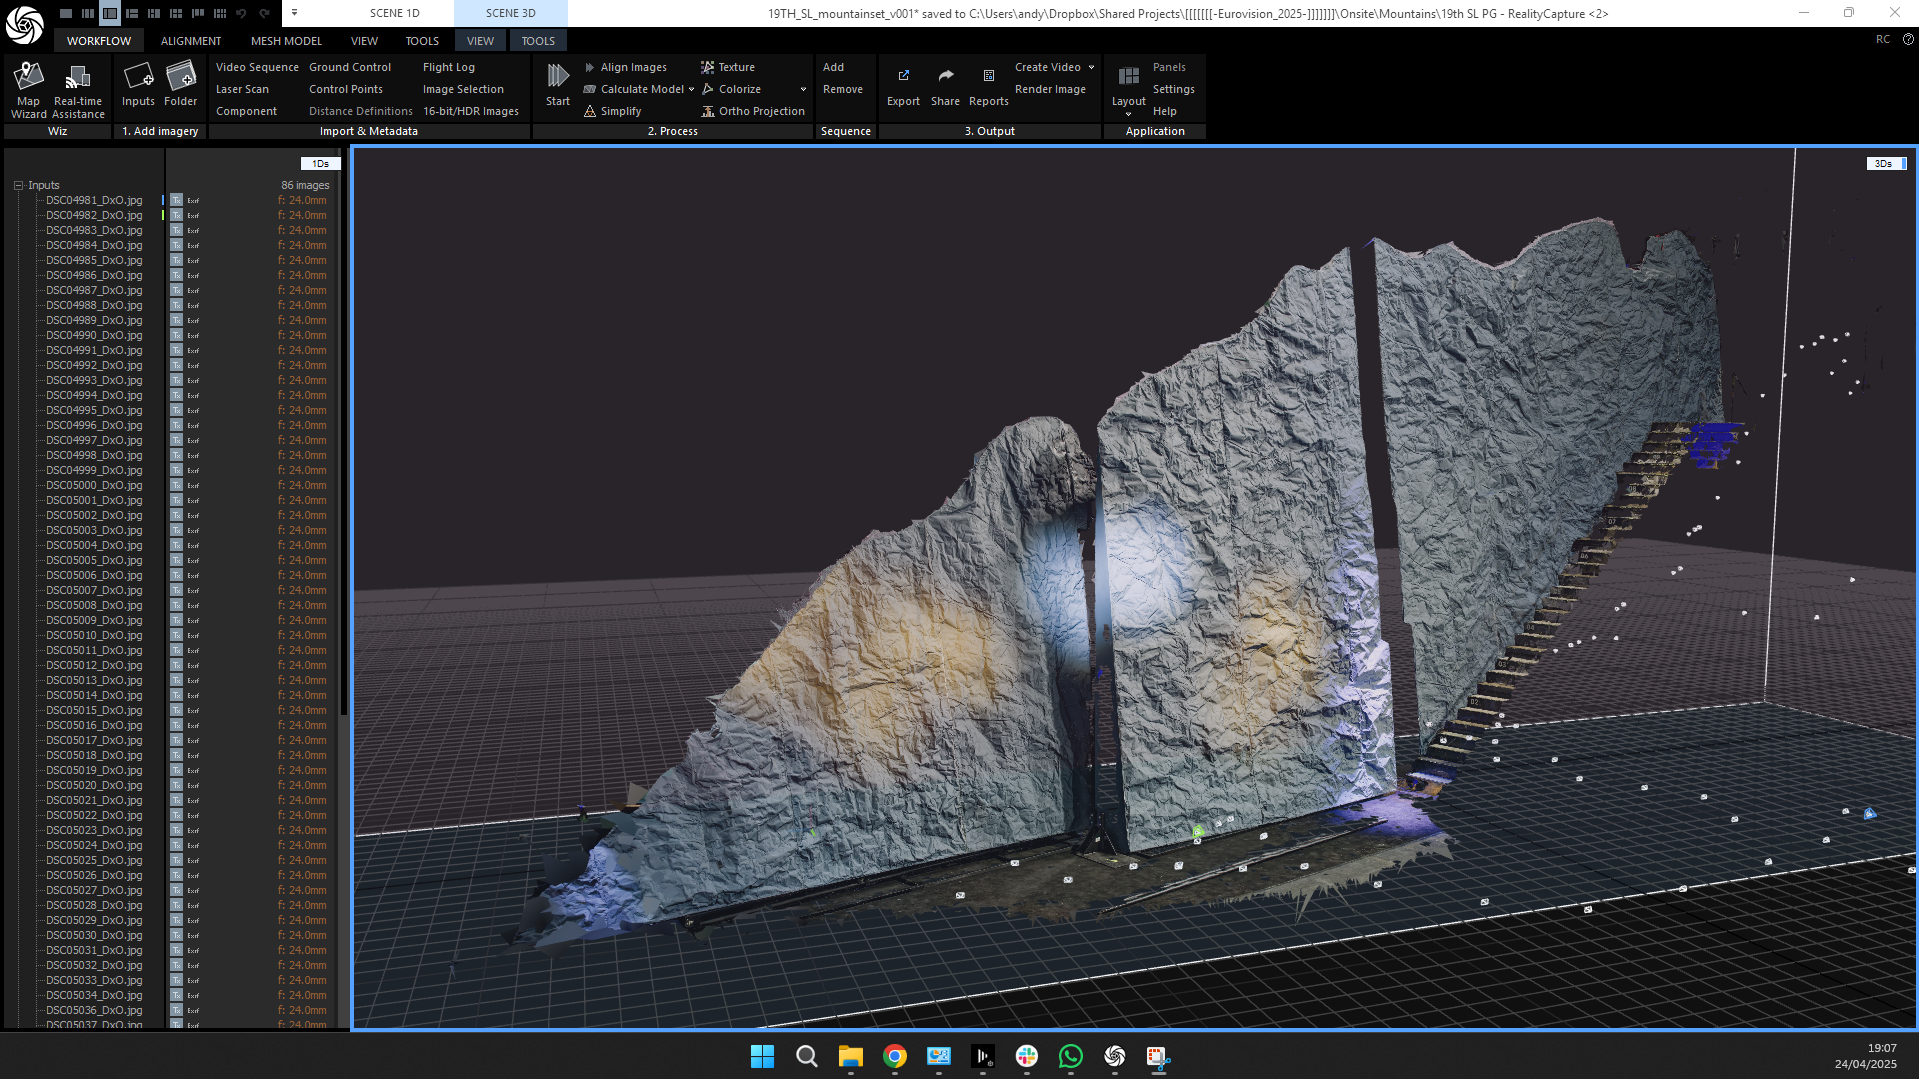
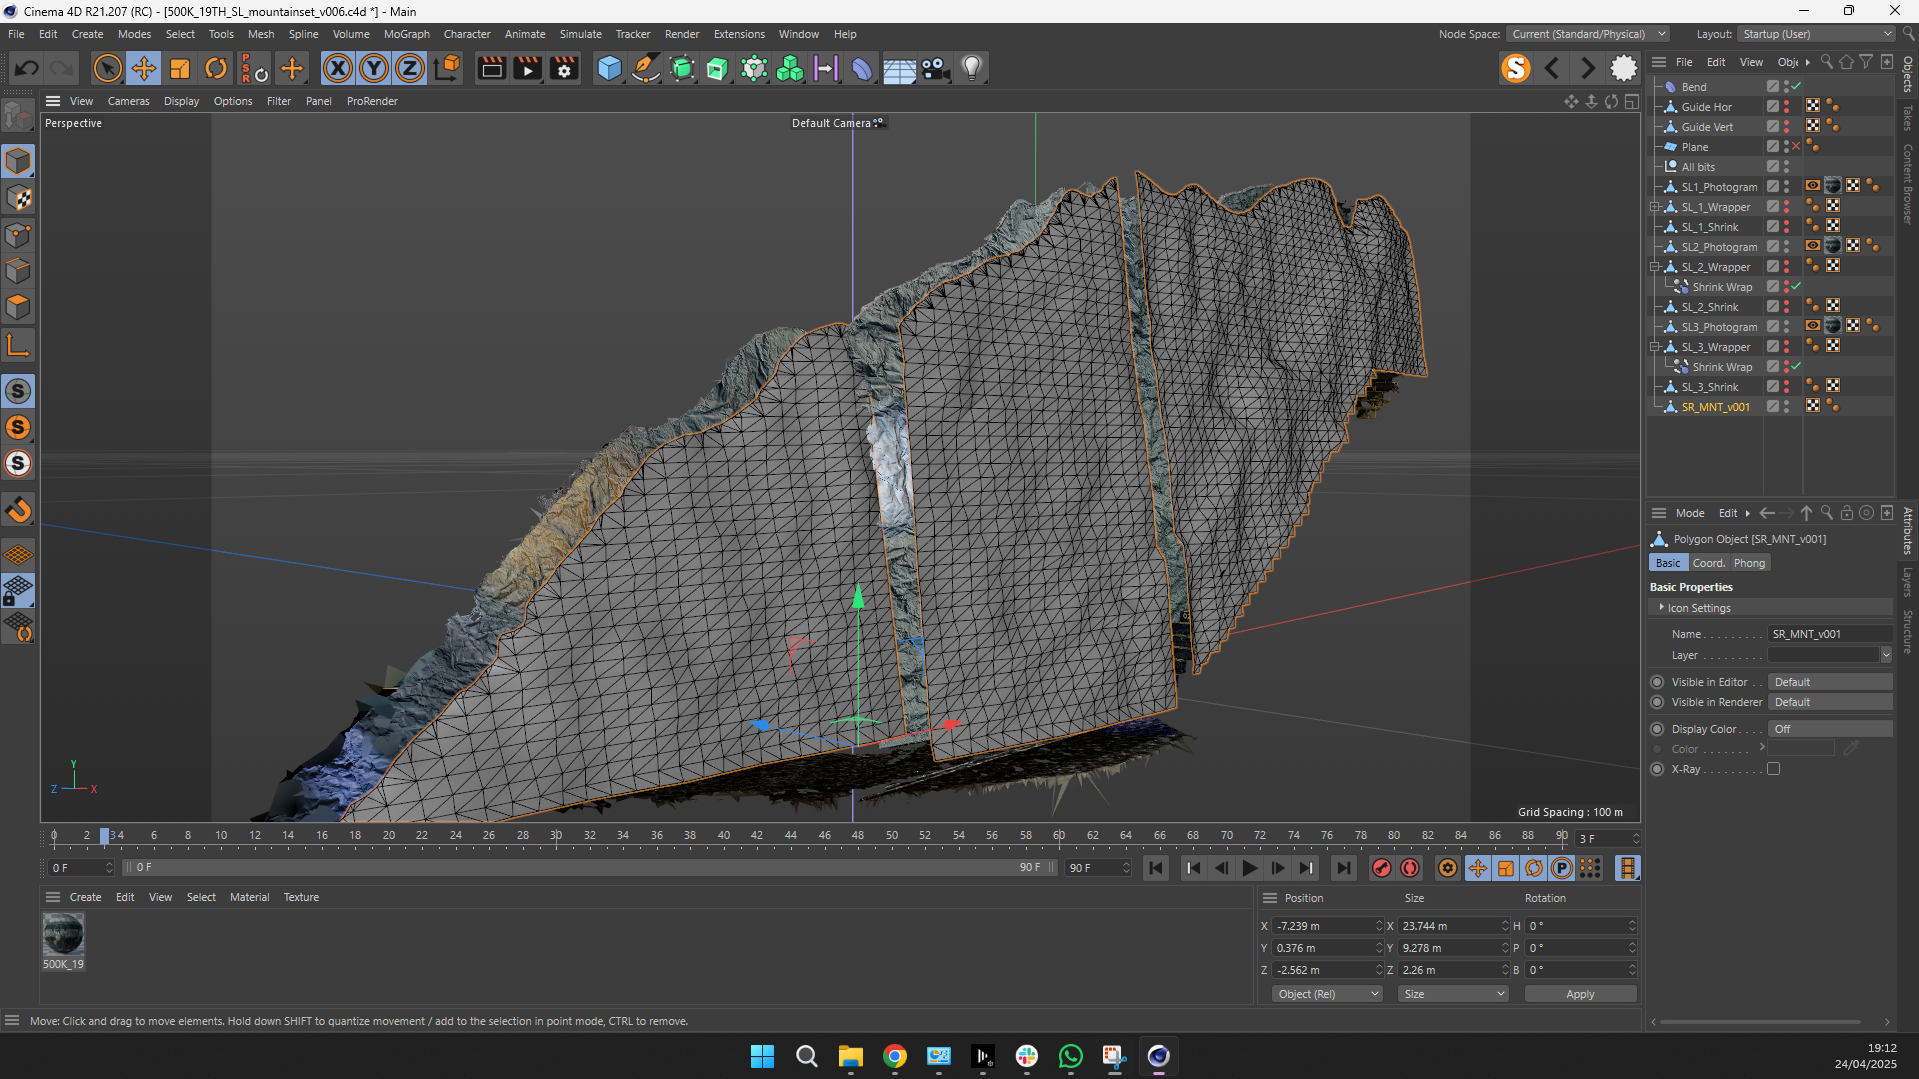
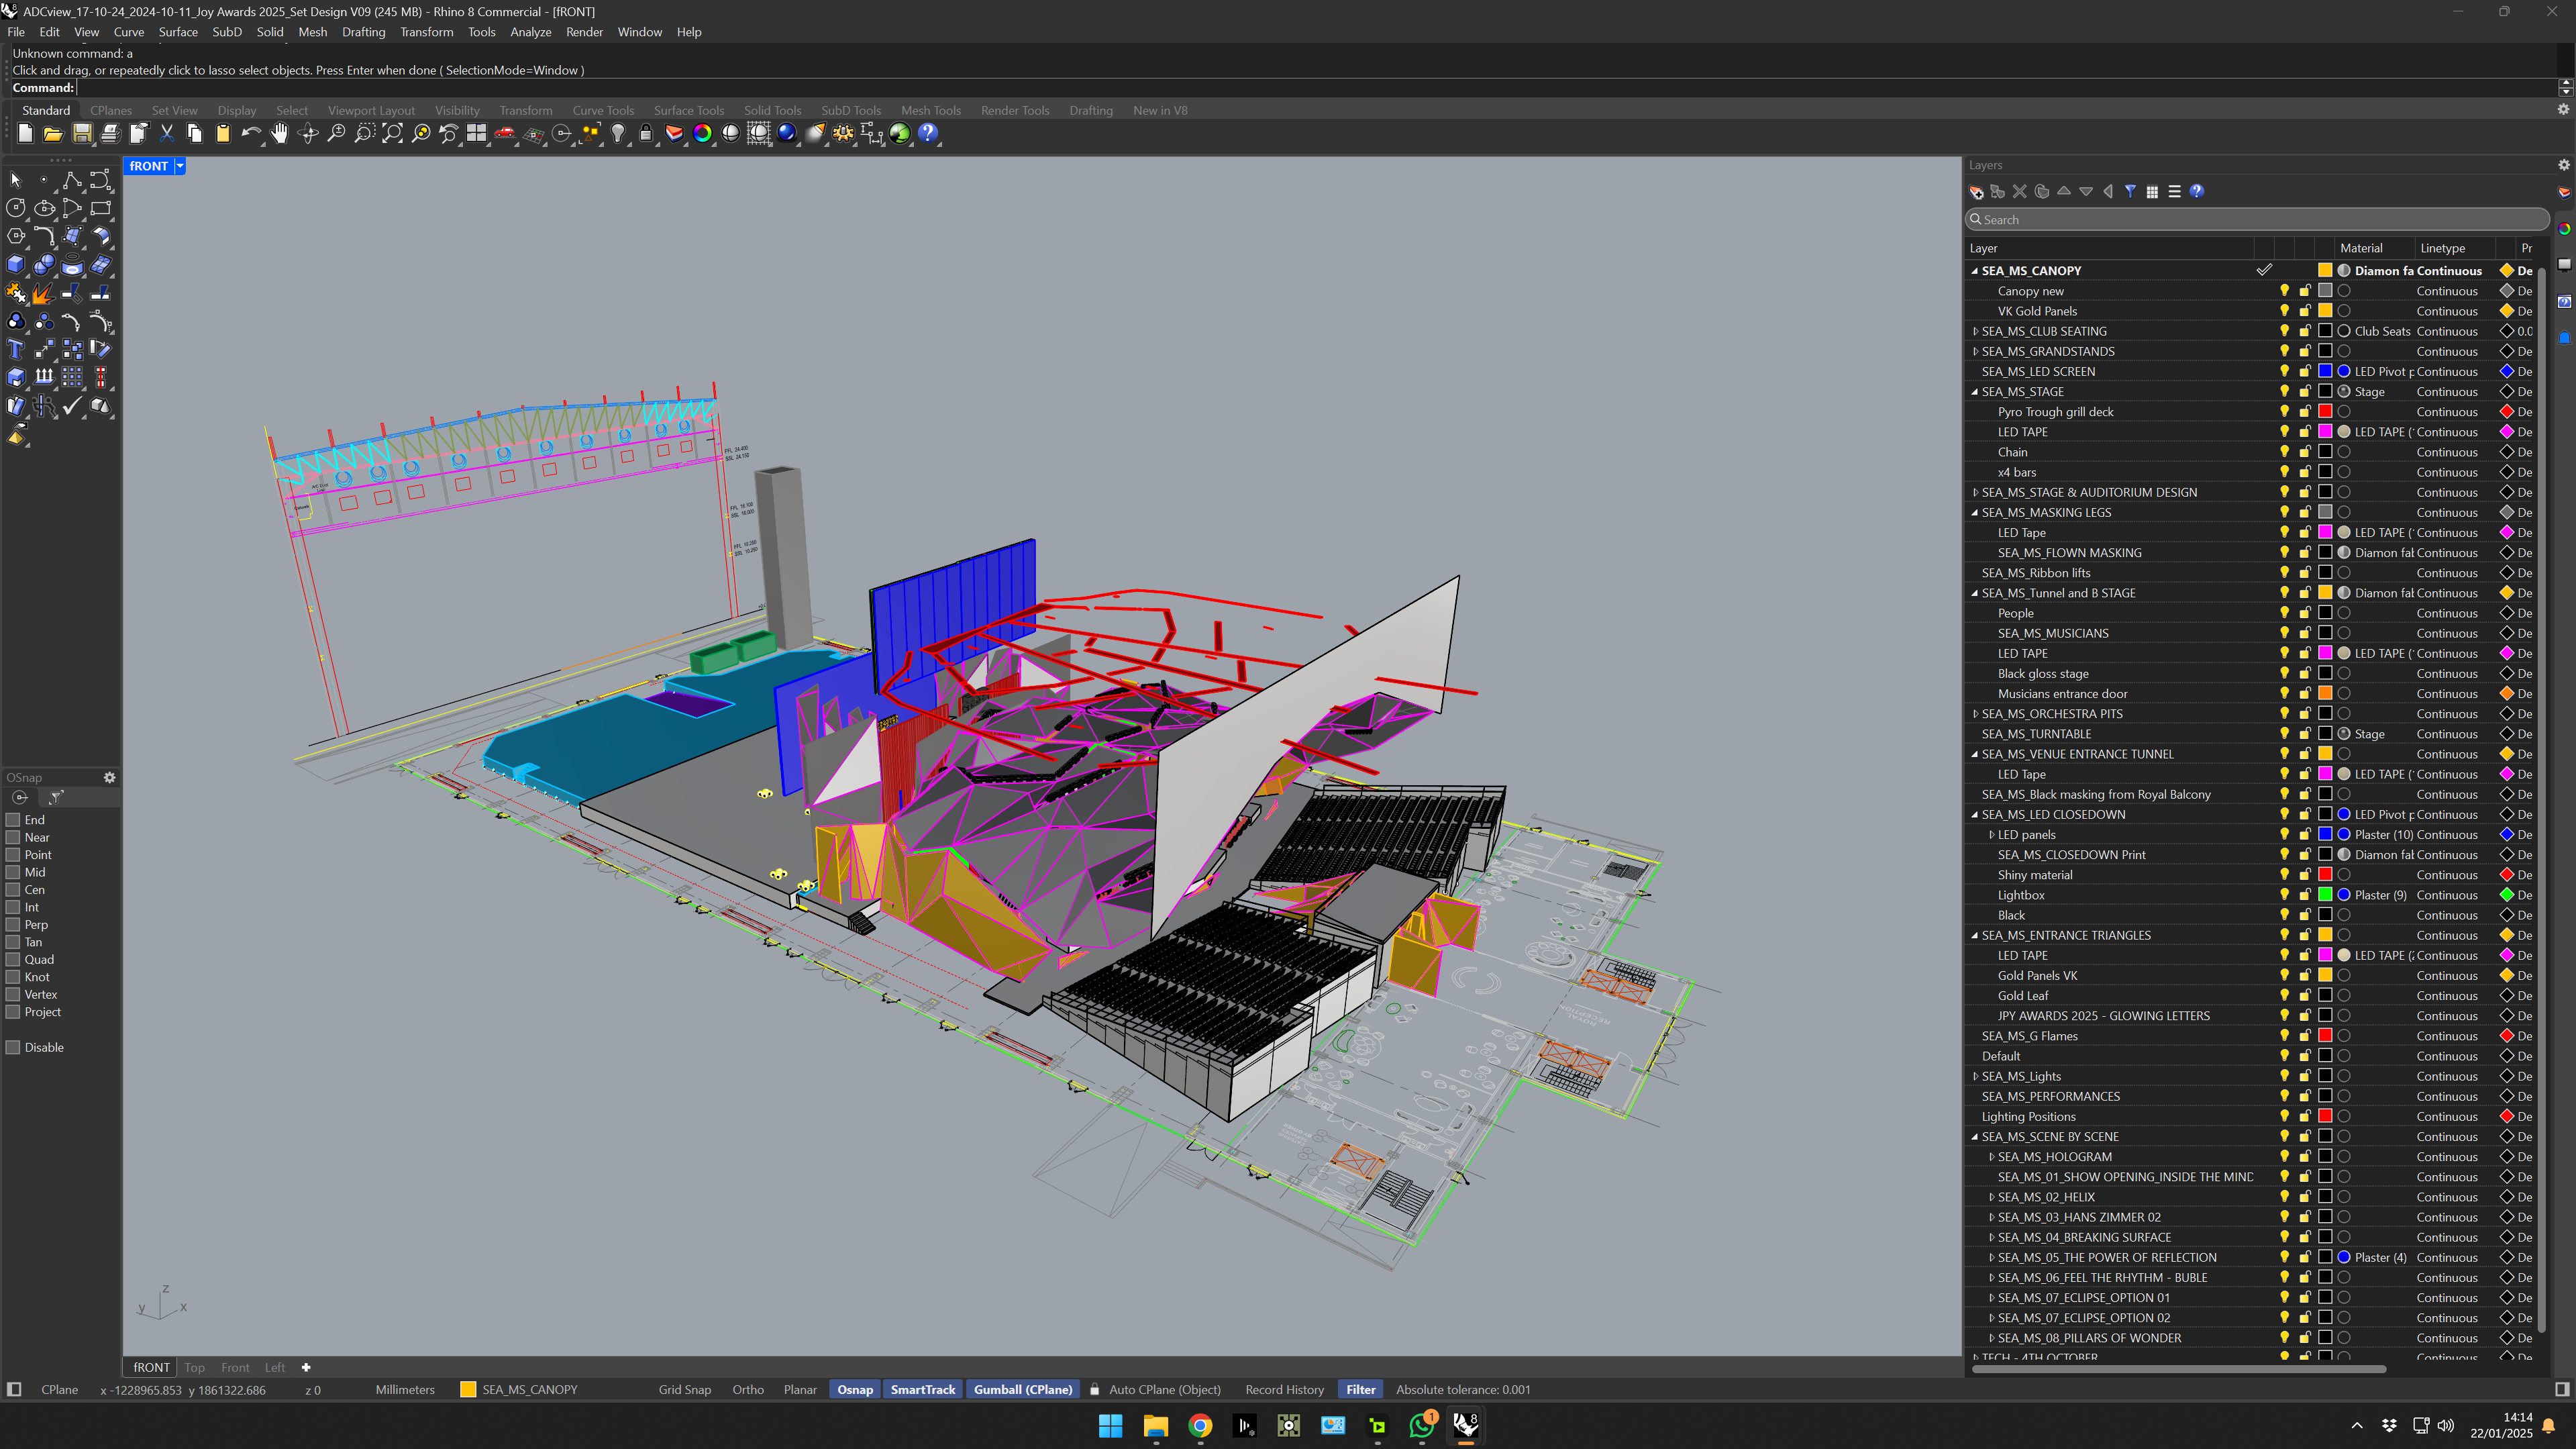
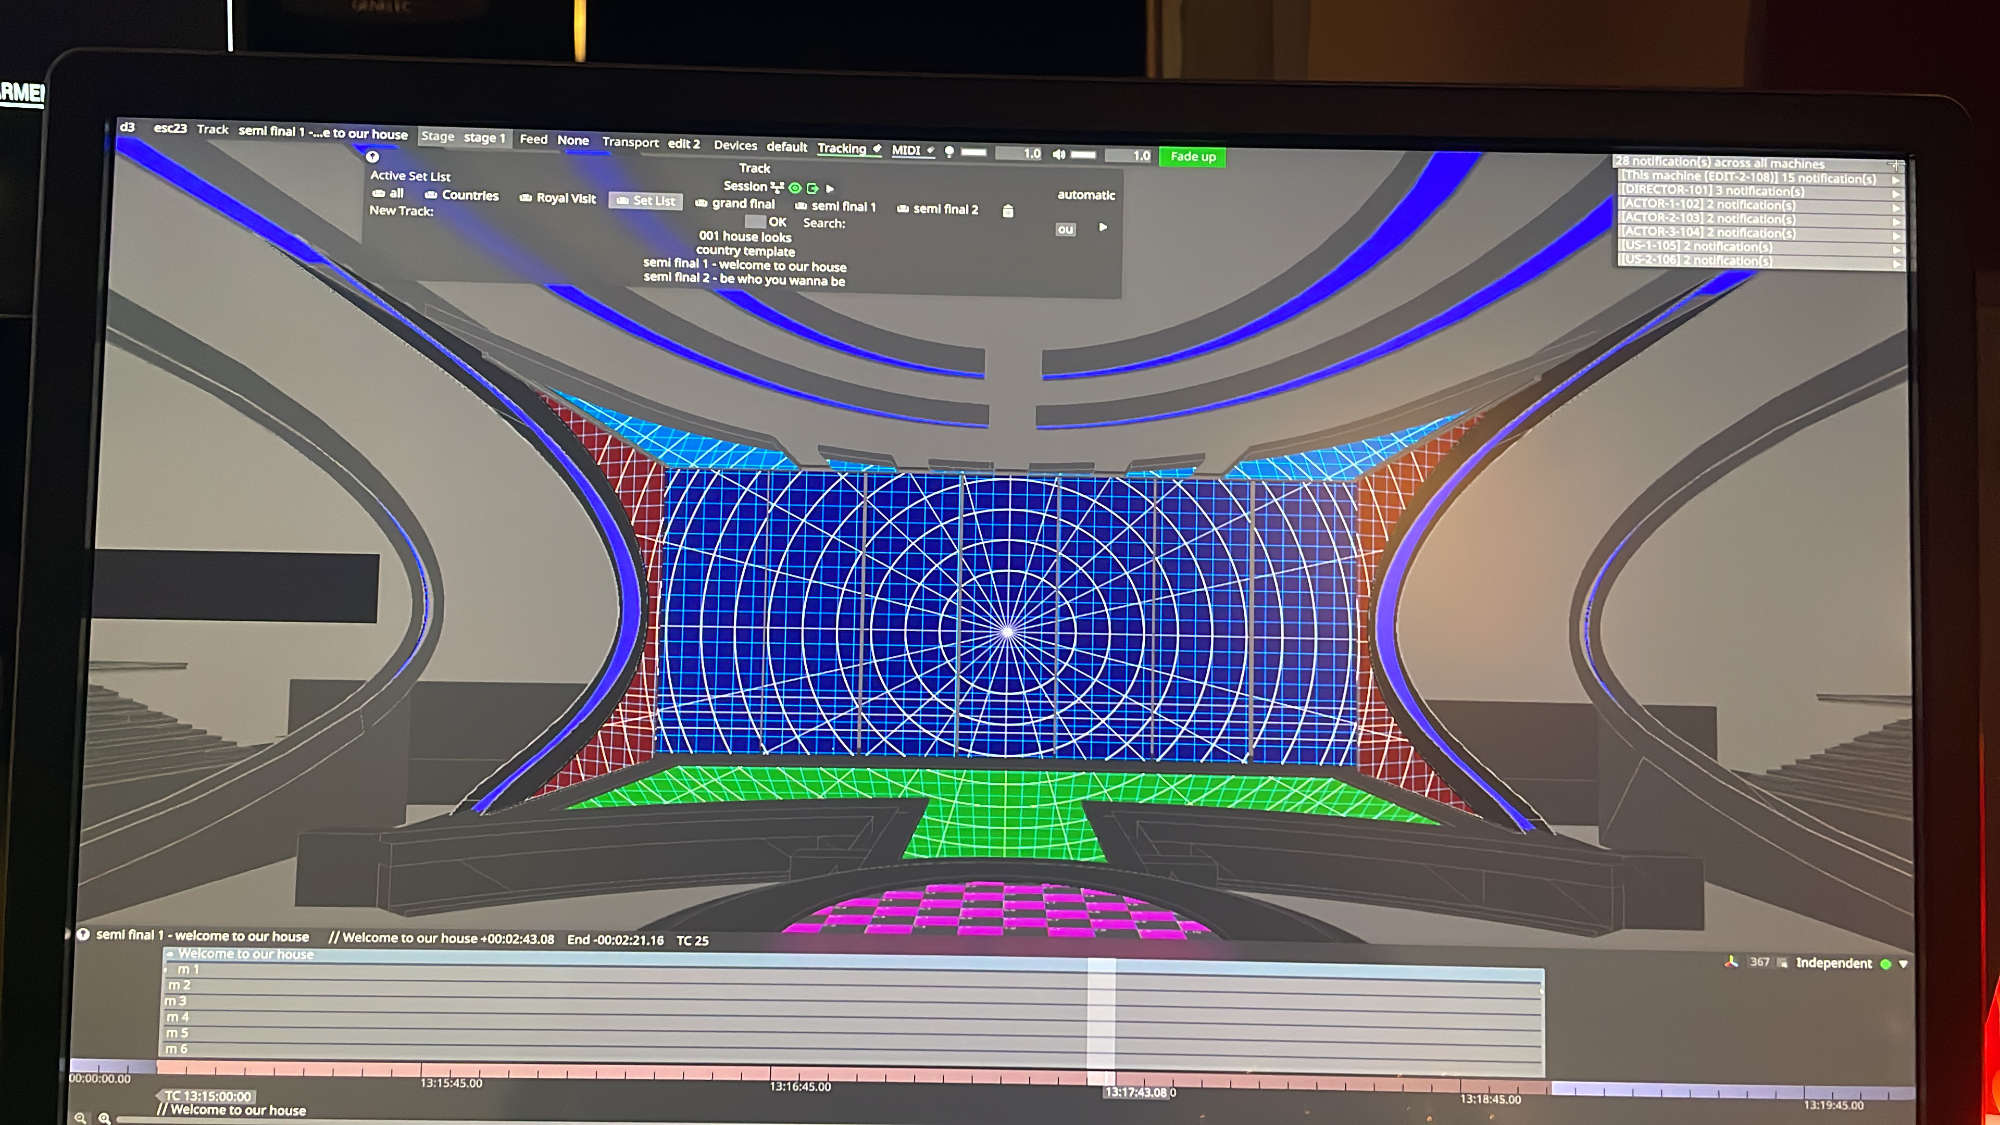
My workflow is generally like this, the client sends over a 3d model or a plan etc in some format, CAD, rhino3d, FBX or scan data. I then process the files if need be and then 3d and bring it into c4d setting my own datum point, scale and rotation to match the d3workflow. From here I then setup the props and screens so I have an accurate 3d model of what the real world setup is going to be. Within this 3d world I can do everything I need in a unified workspace and that includes projection planning with Boomerang, I used to use mapping matter but it slowed down the process exporting and importing into the browser now I have everything under one hood ad full quick control of all parameters.
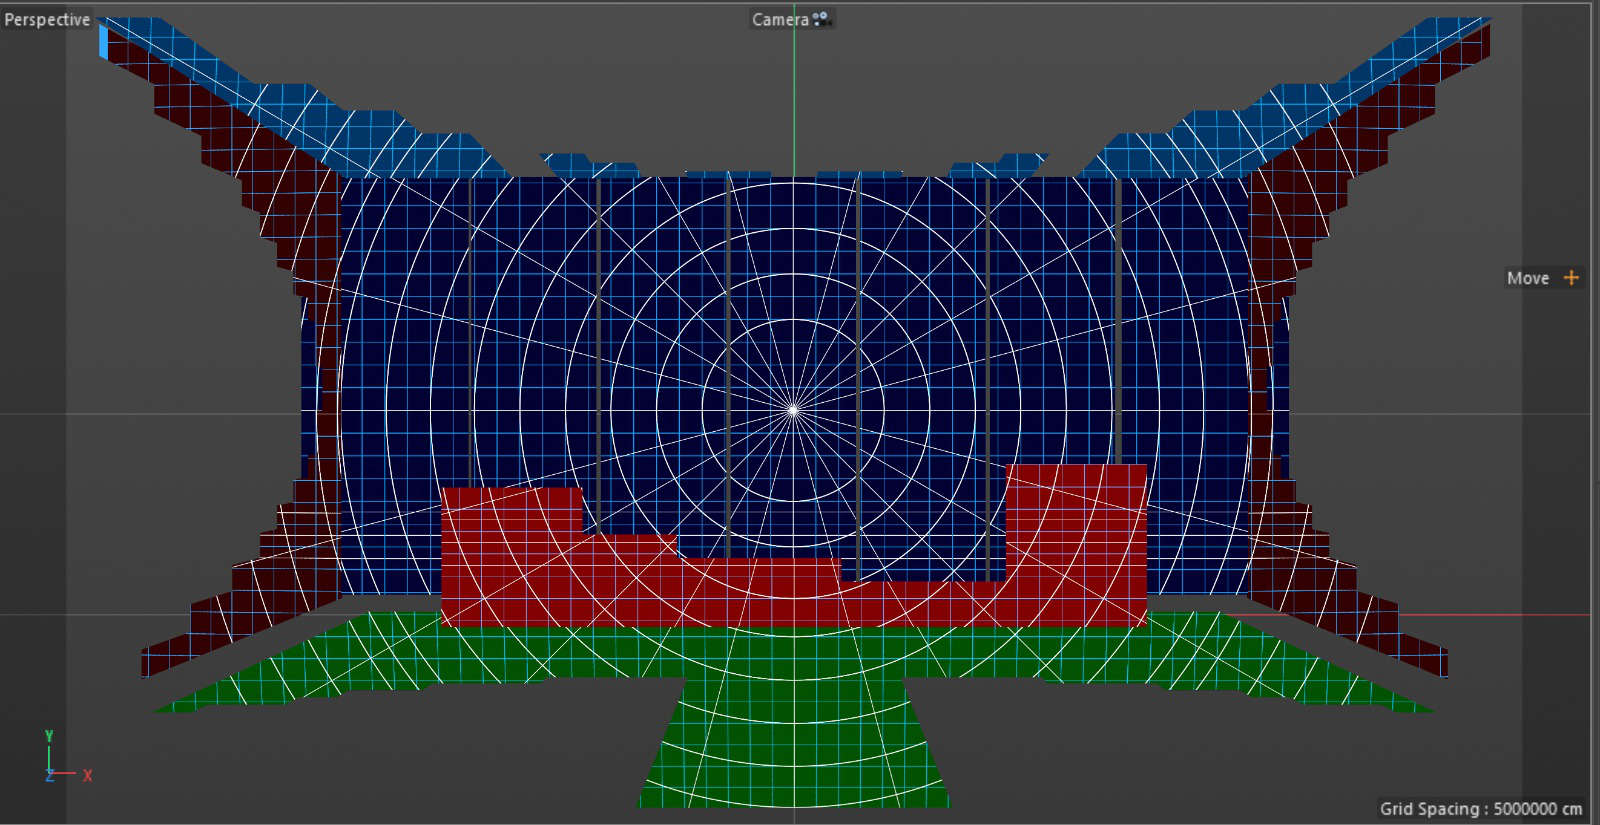
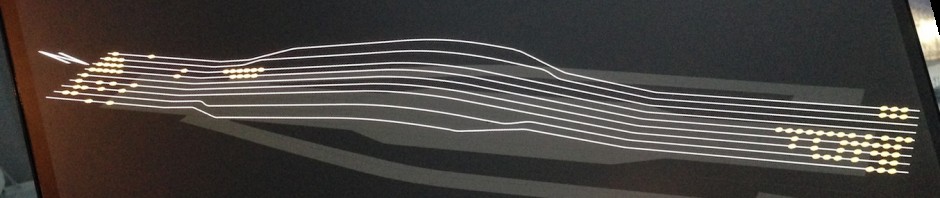
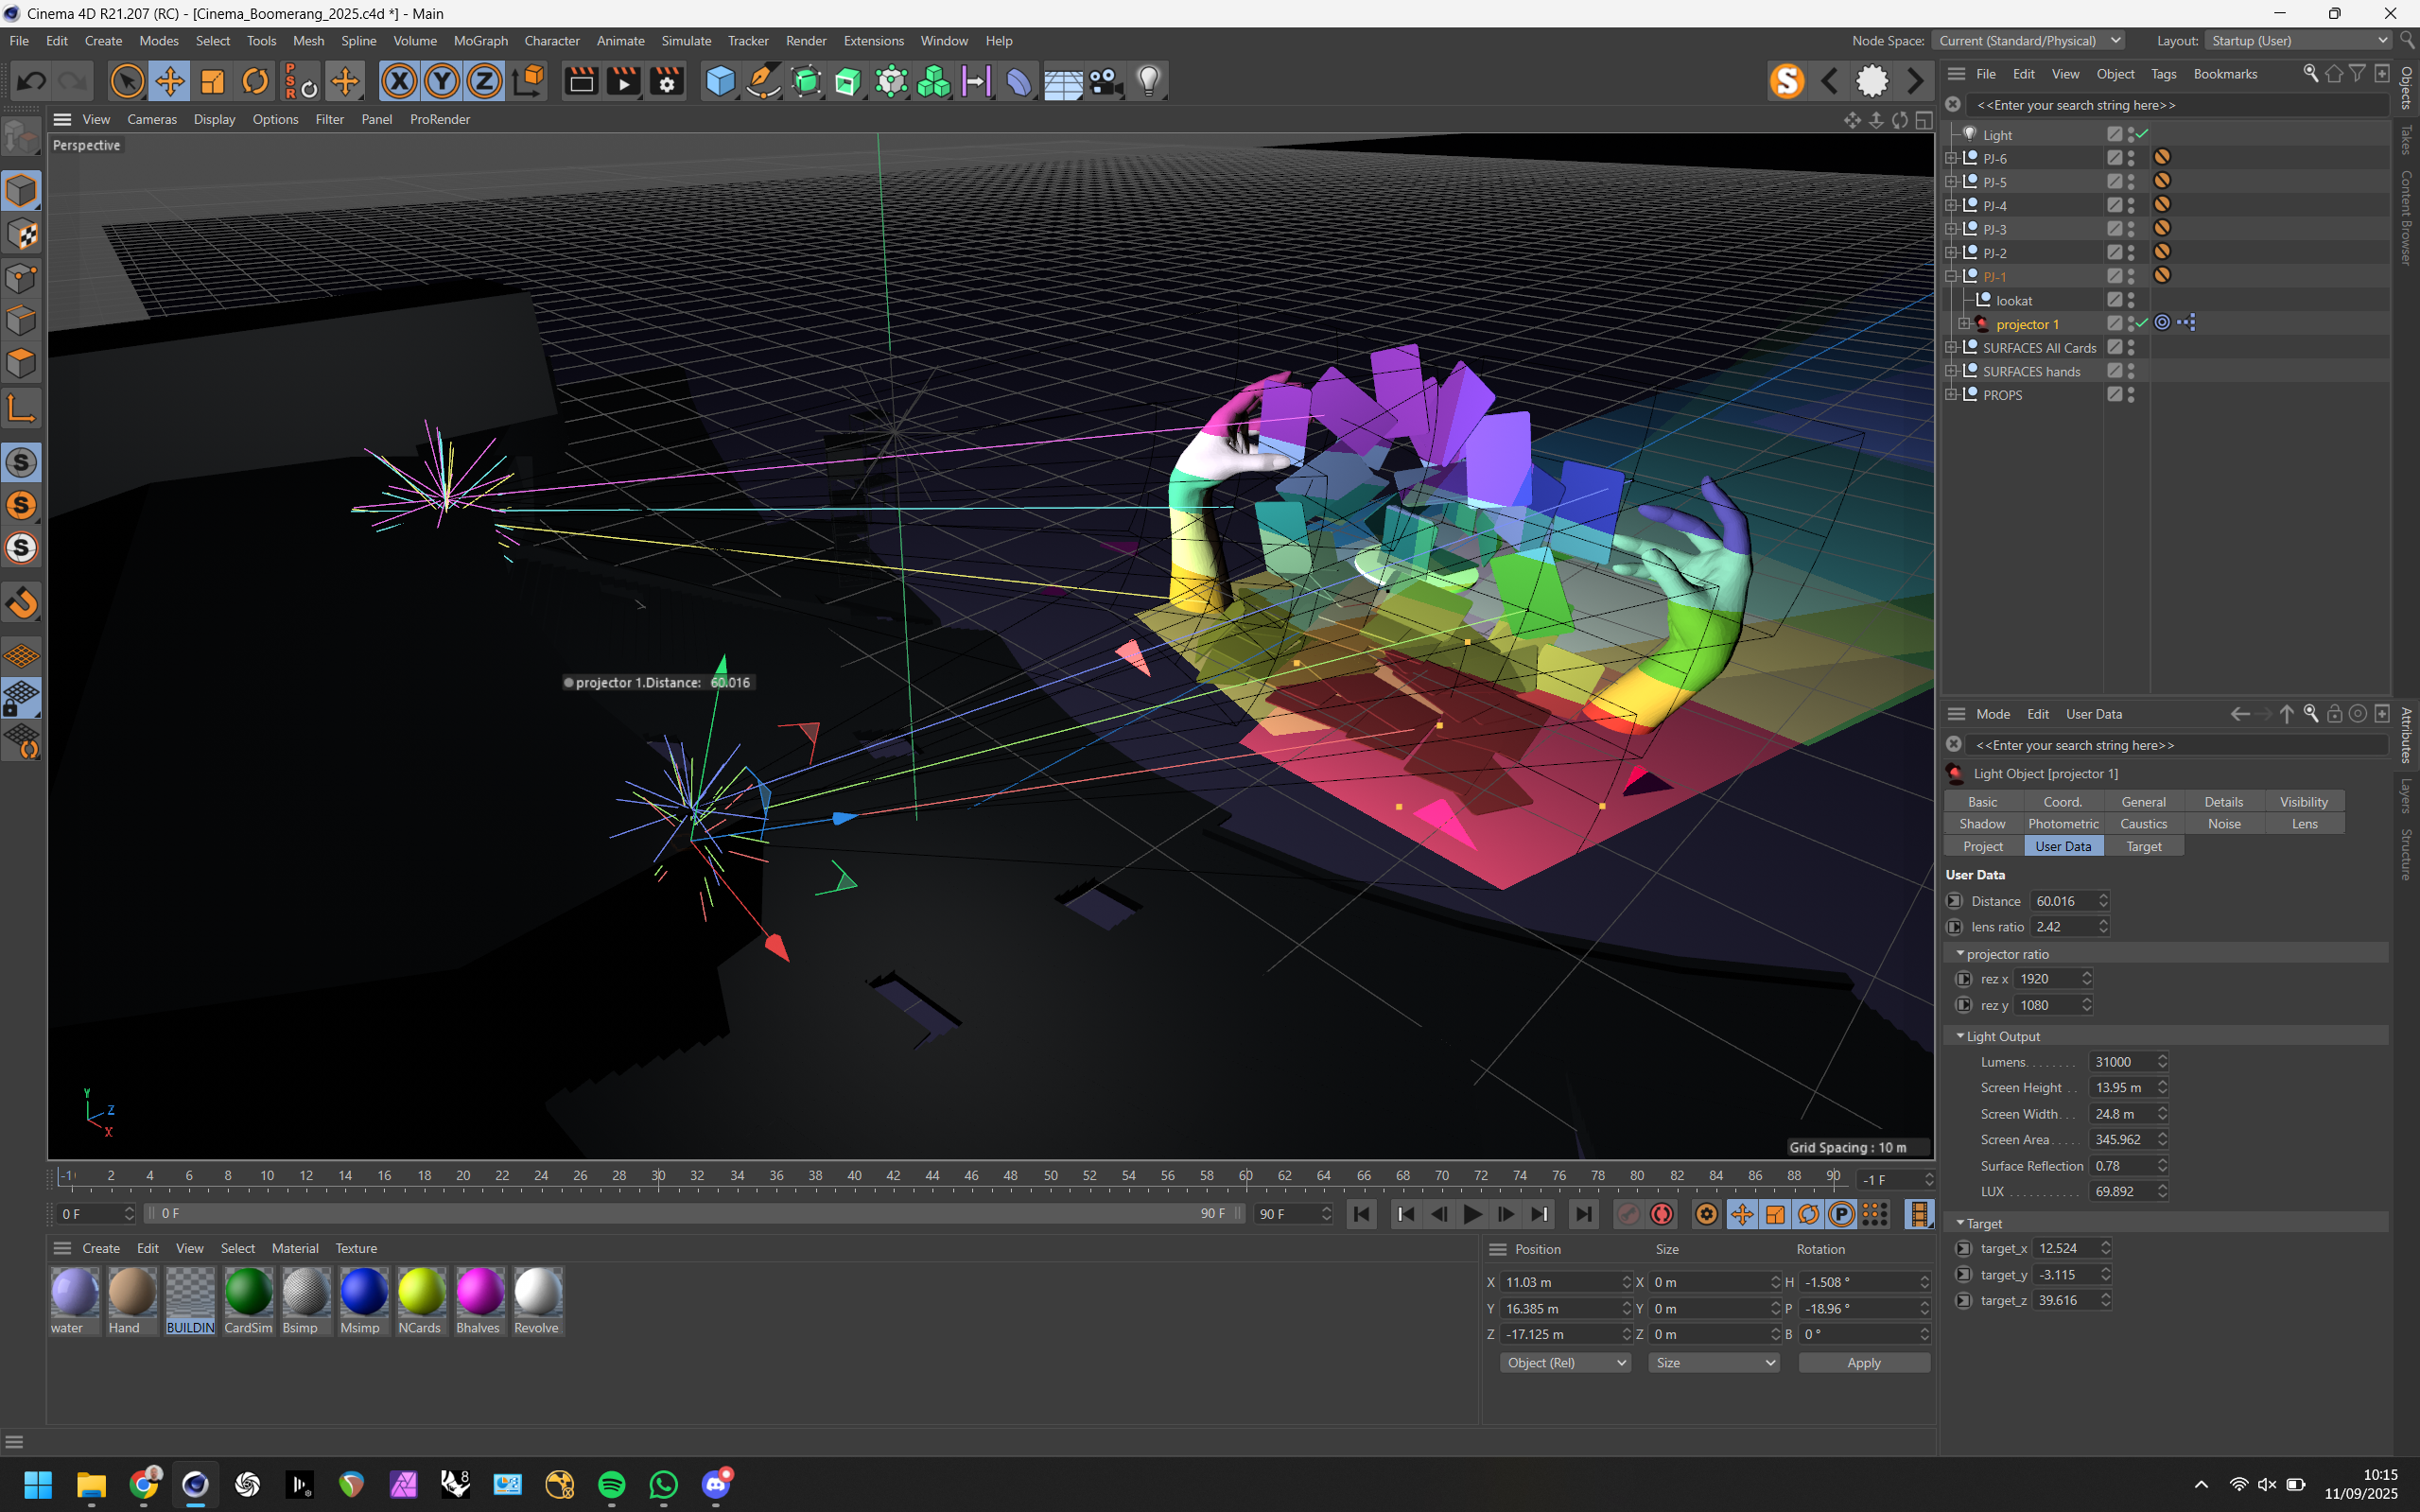
The tool isn’t perfect and only gives a LUX reading at the target point, the surface reflection must be taken into account and basically a real world knowledge about how the light works when projected on different surfaces at different angles is very advantageous. I’ve built it for my own use and aim to explain my usage of it here. The above image is based on the project from the planning for Carmen at Bregenz with LHS back in 2017 updated for 2025. To make it a bit more clearer Ill start with a simple 2 x projector setup to explain the workings of Booomerang.
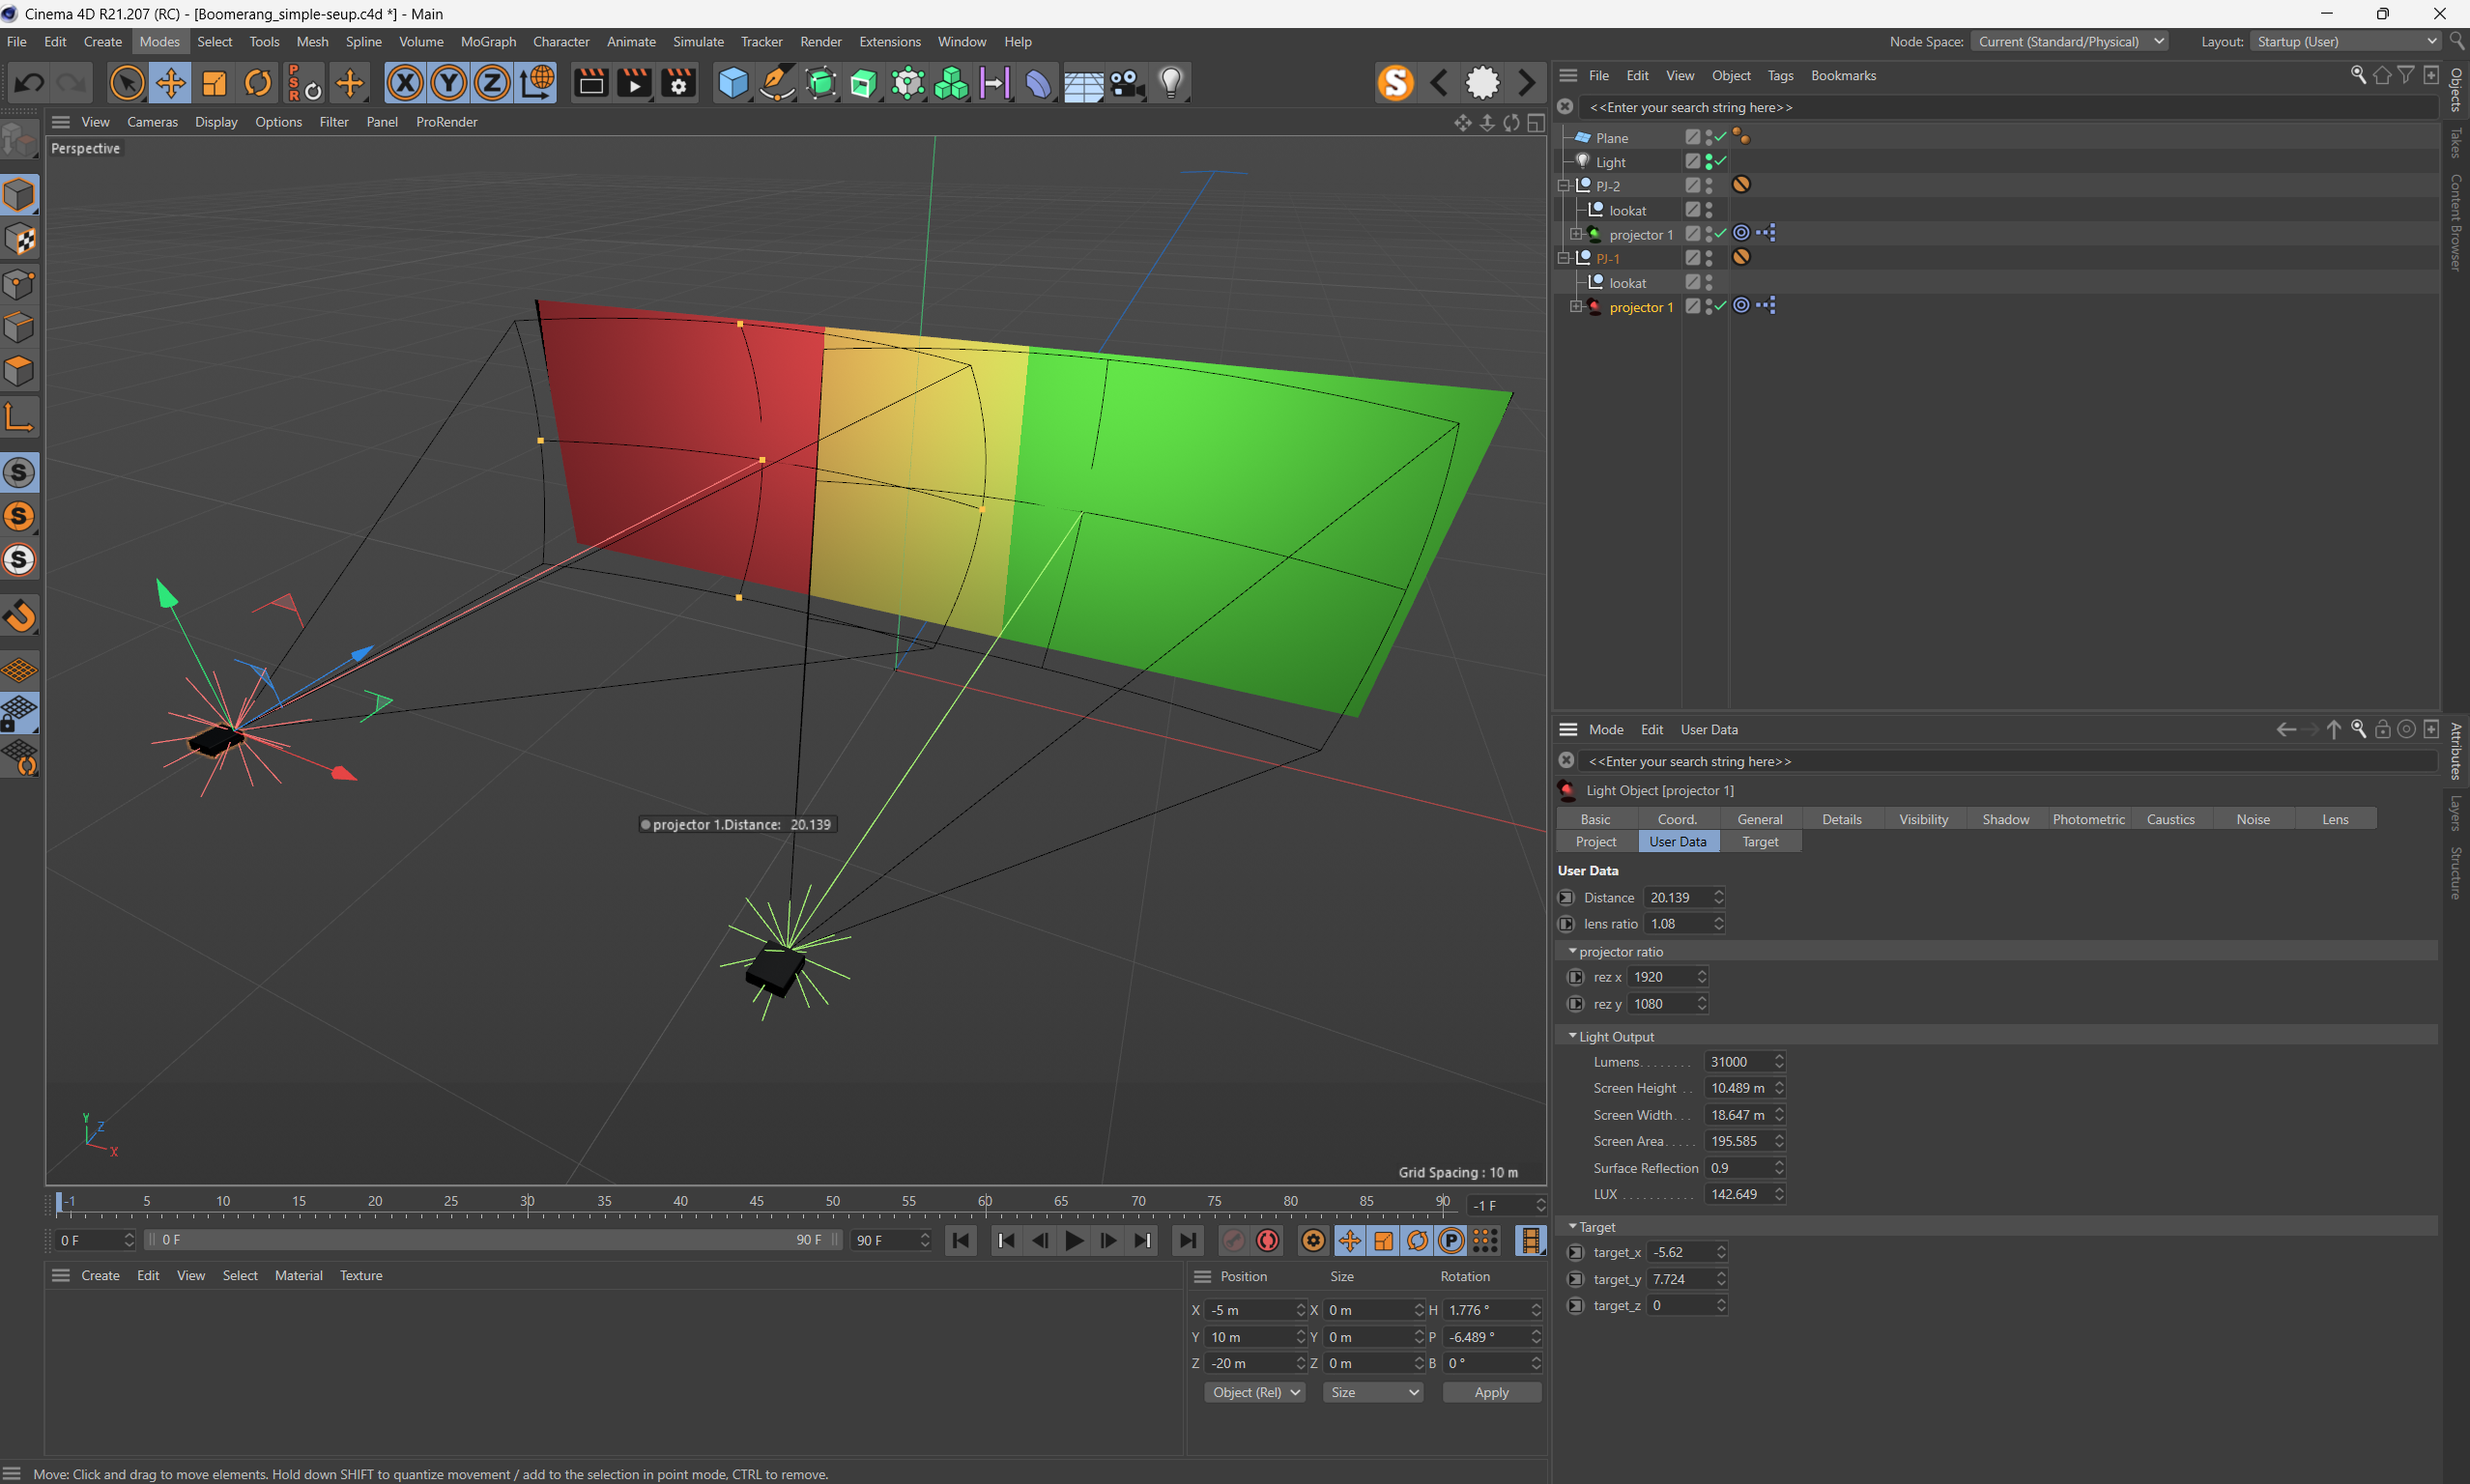
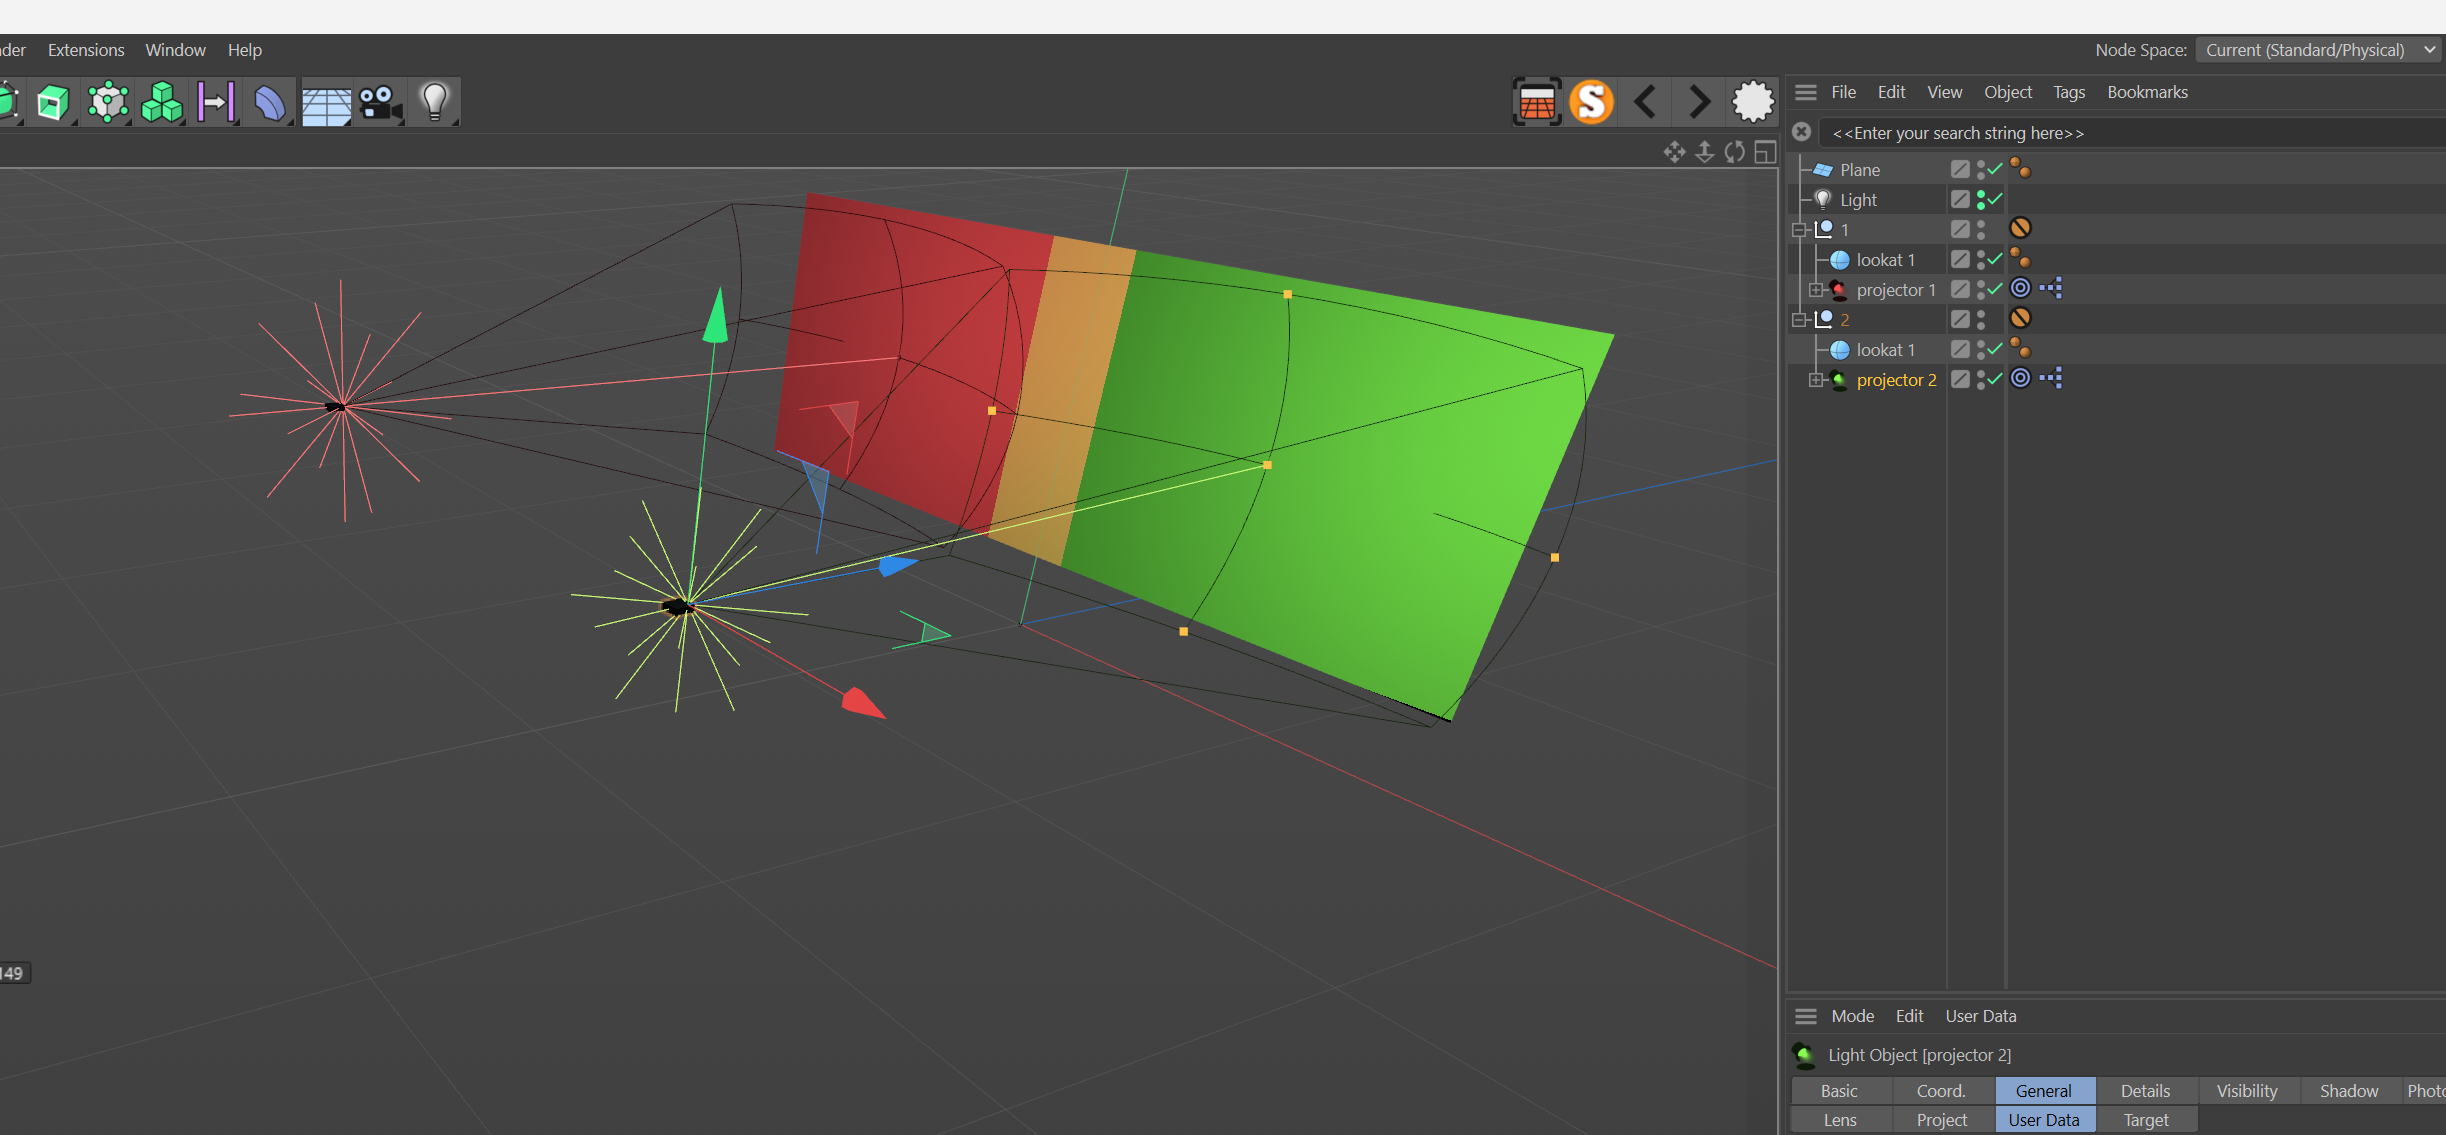
In this example we have a simple setup with a 2 x projector blend on a wide’ish screen. Each projector group consists of parts, the projector body and the target both which can be moved with the conventional C4D widgets.
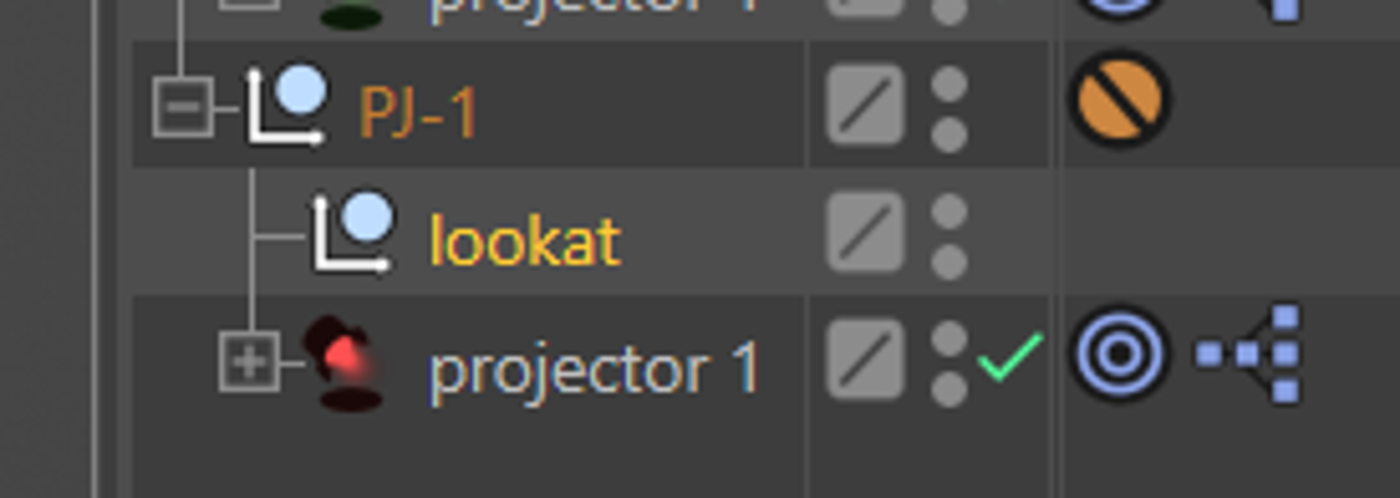
My workflow is to position the projector to where i think the physical position will be based off the received CAD, and then using the 4 split view I move around the look-at point to get the coverage I want.

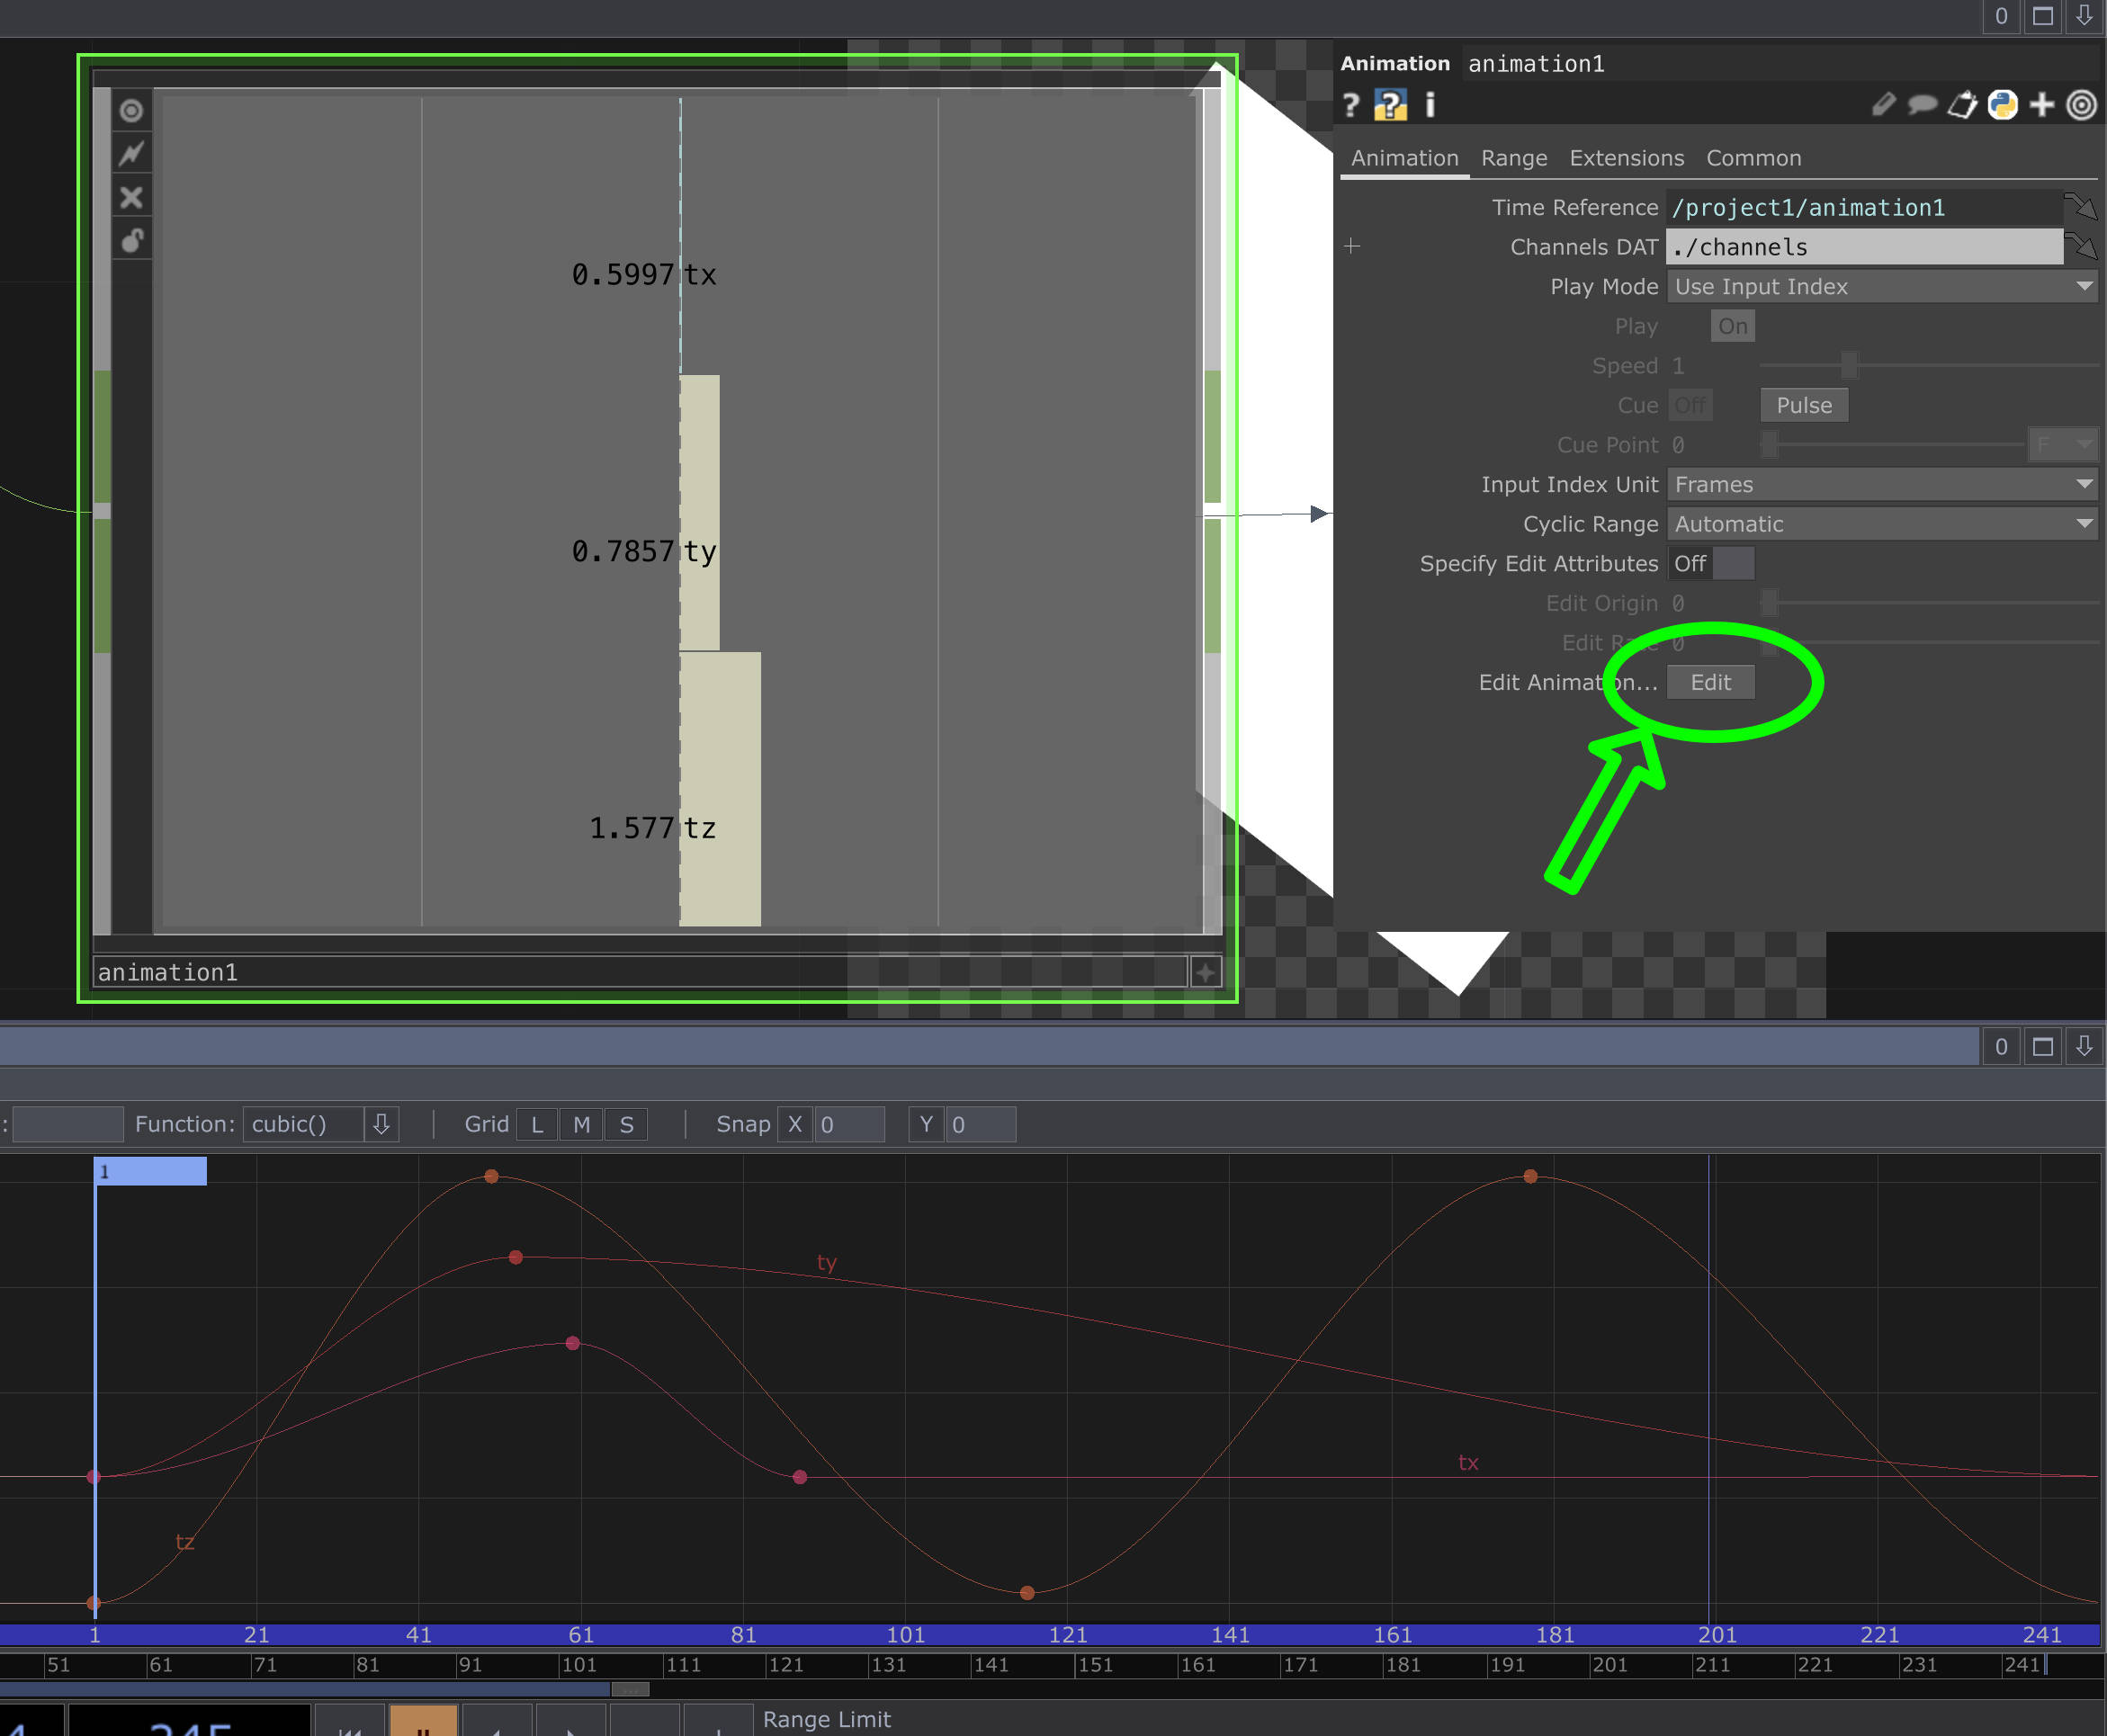
Positioning and pointing things is all good but the real juicy part is when you select the projector in the objects window and select the USER DATA tab in the attributes window. This allows you to set the following parameters highlighted in green below.
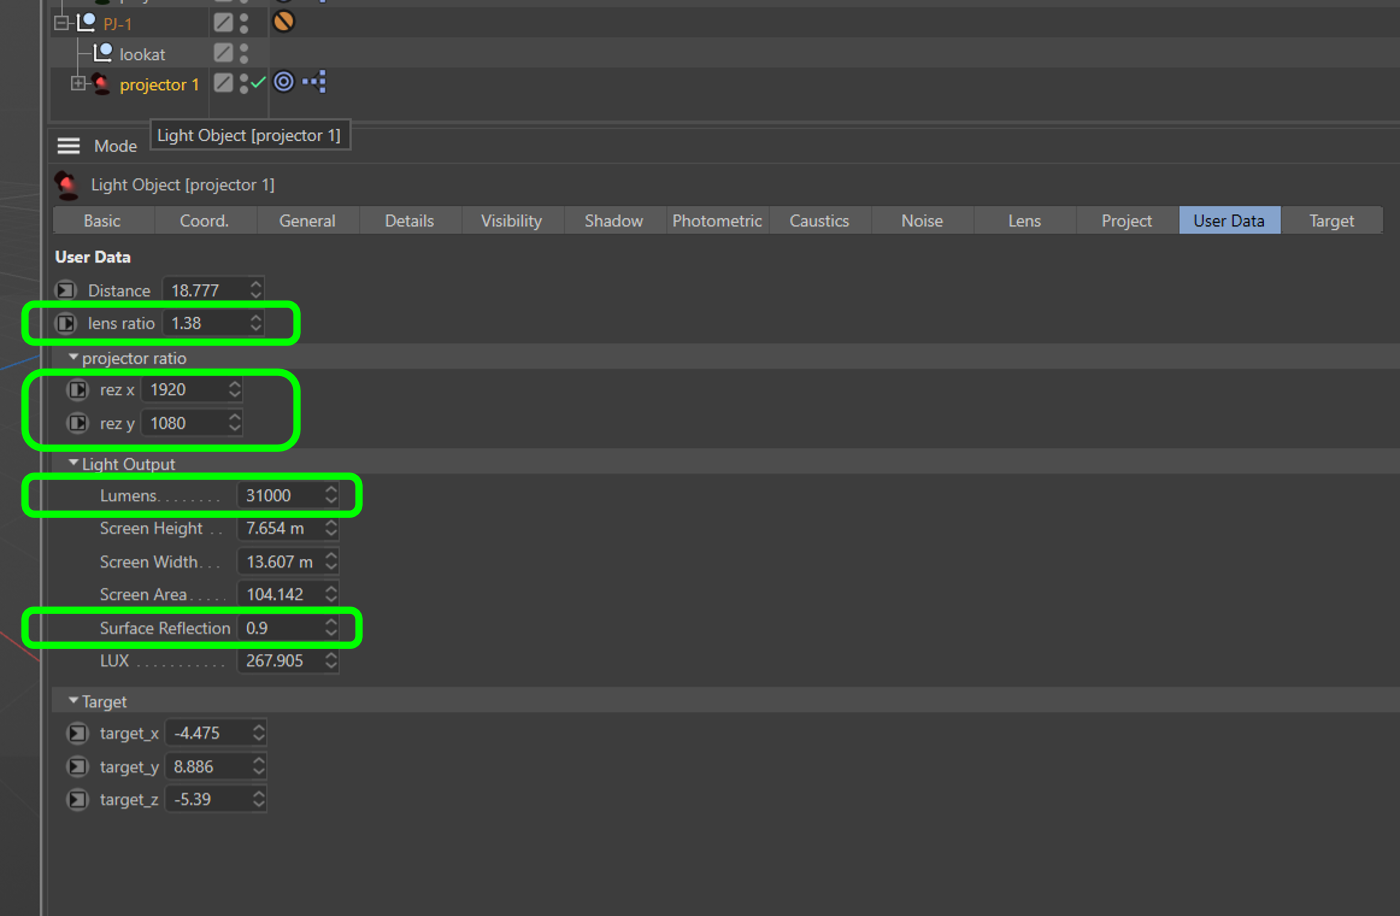
This all should be self explanatory in terms of input data, knowing the surface reflection is a bit of a black art when projecting on non conventional surfaces so this requires a bit of prior knowledge in what works and what doesn’t. The most important and useful part of this rig is the ability to know what the resulting lux will be based on all of your inputs.
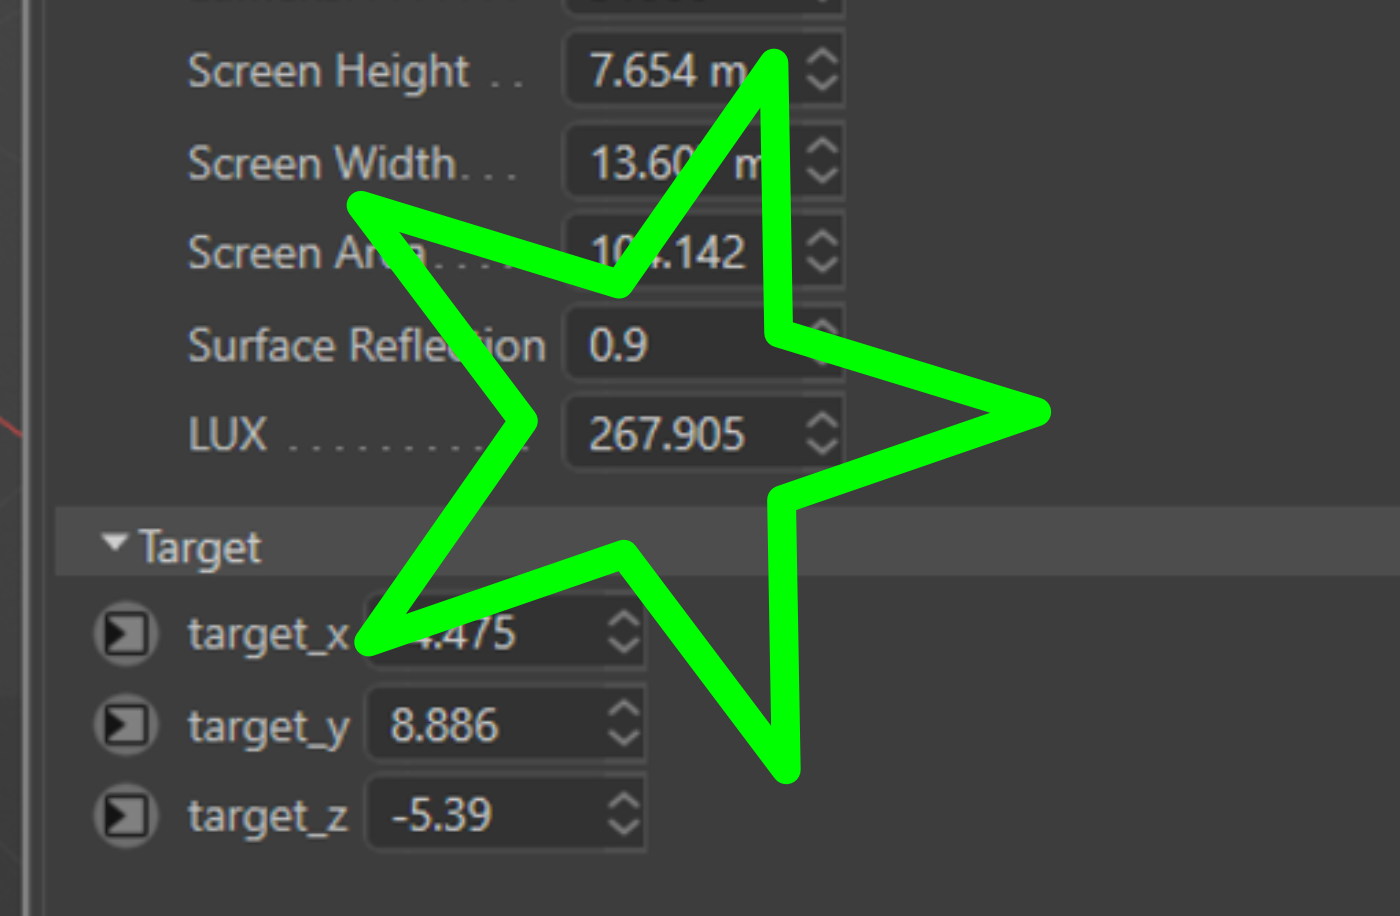
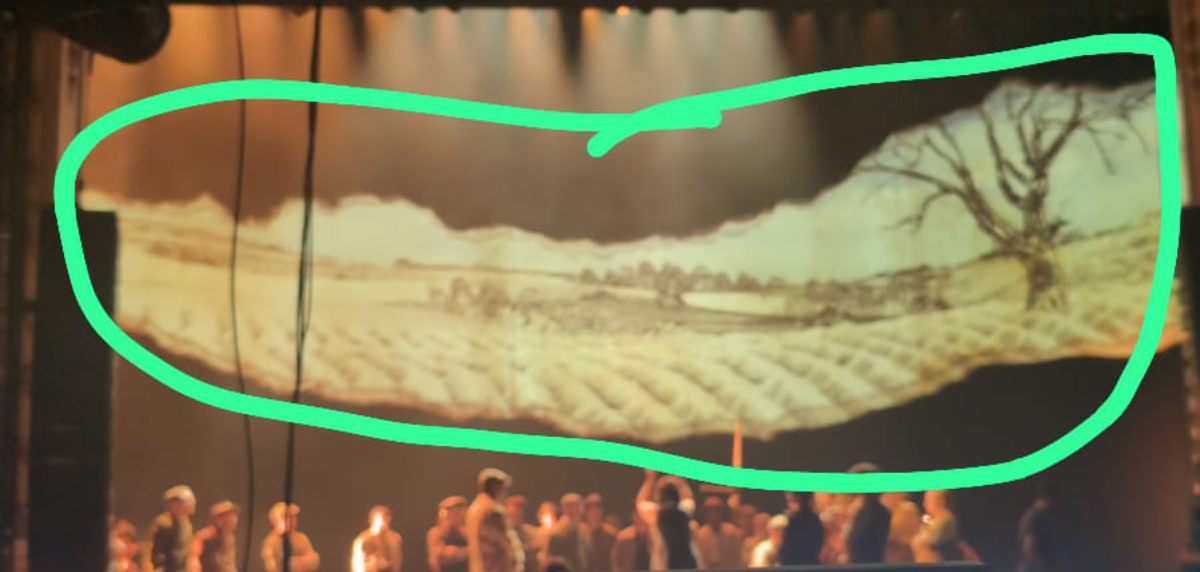
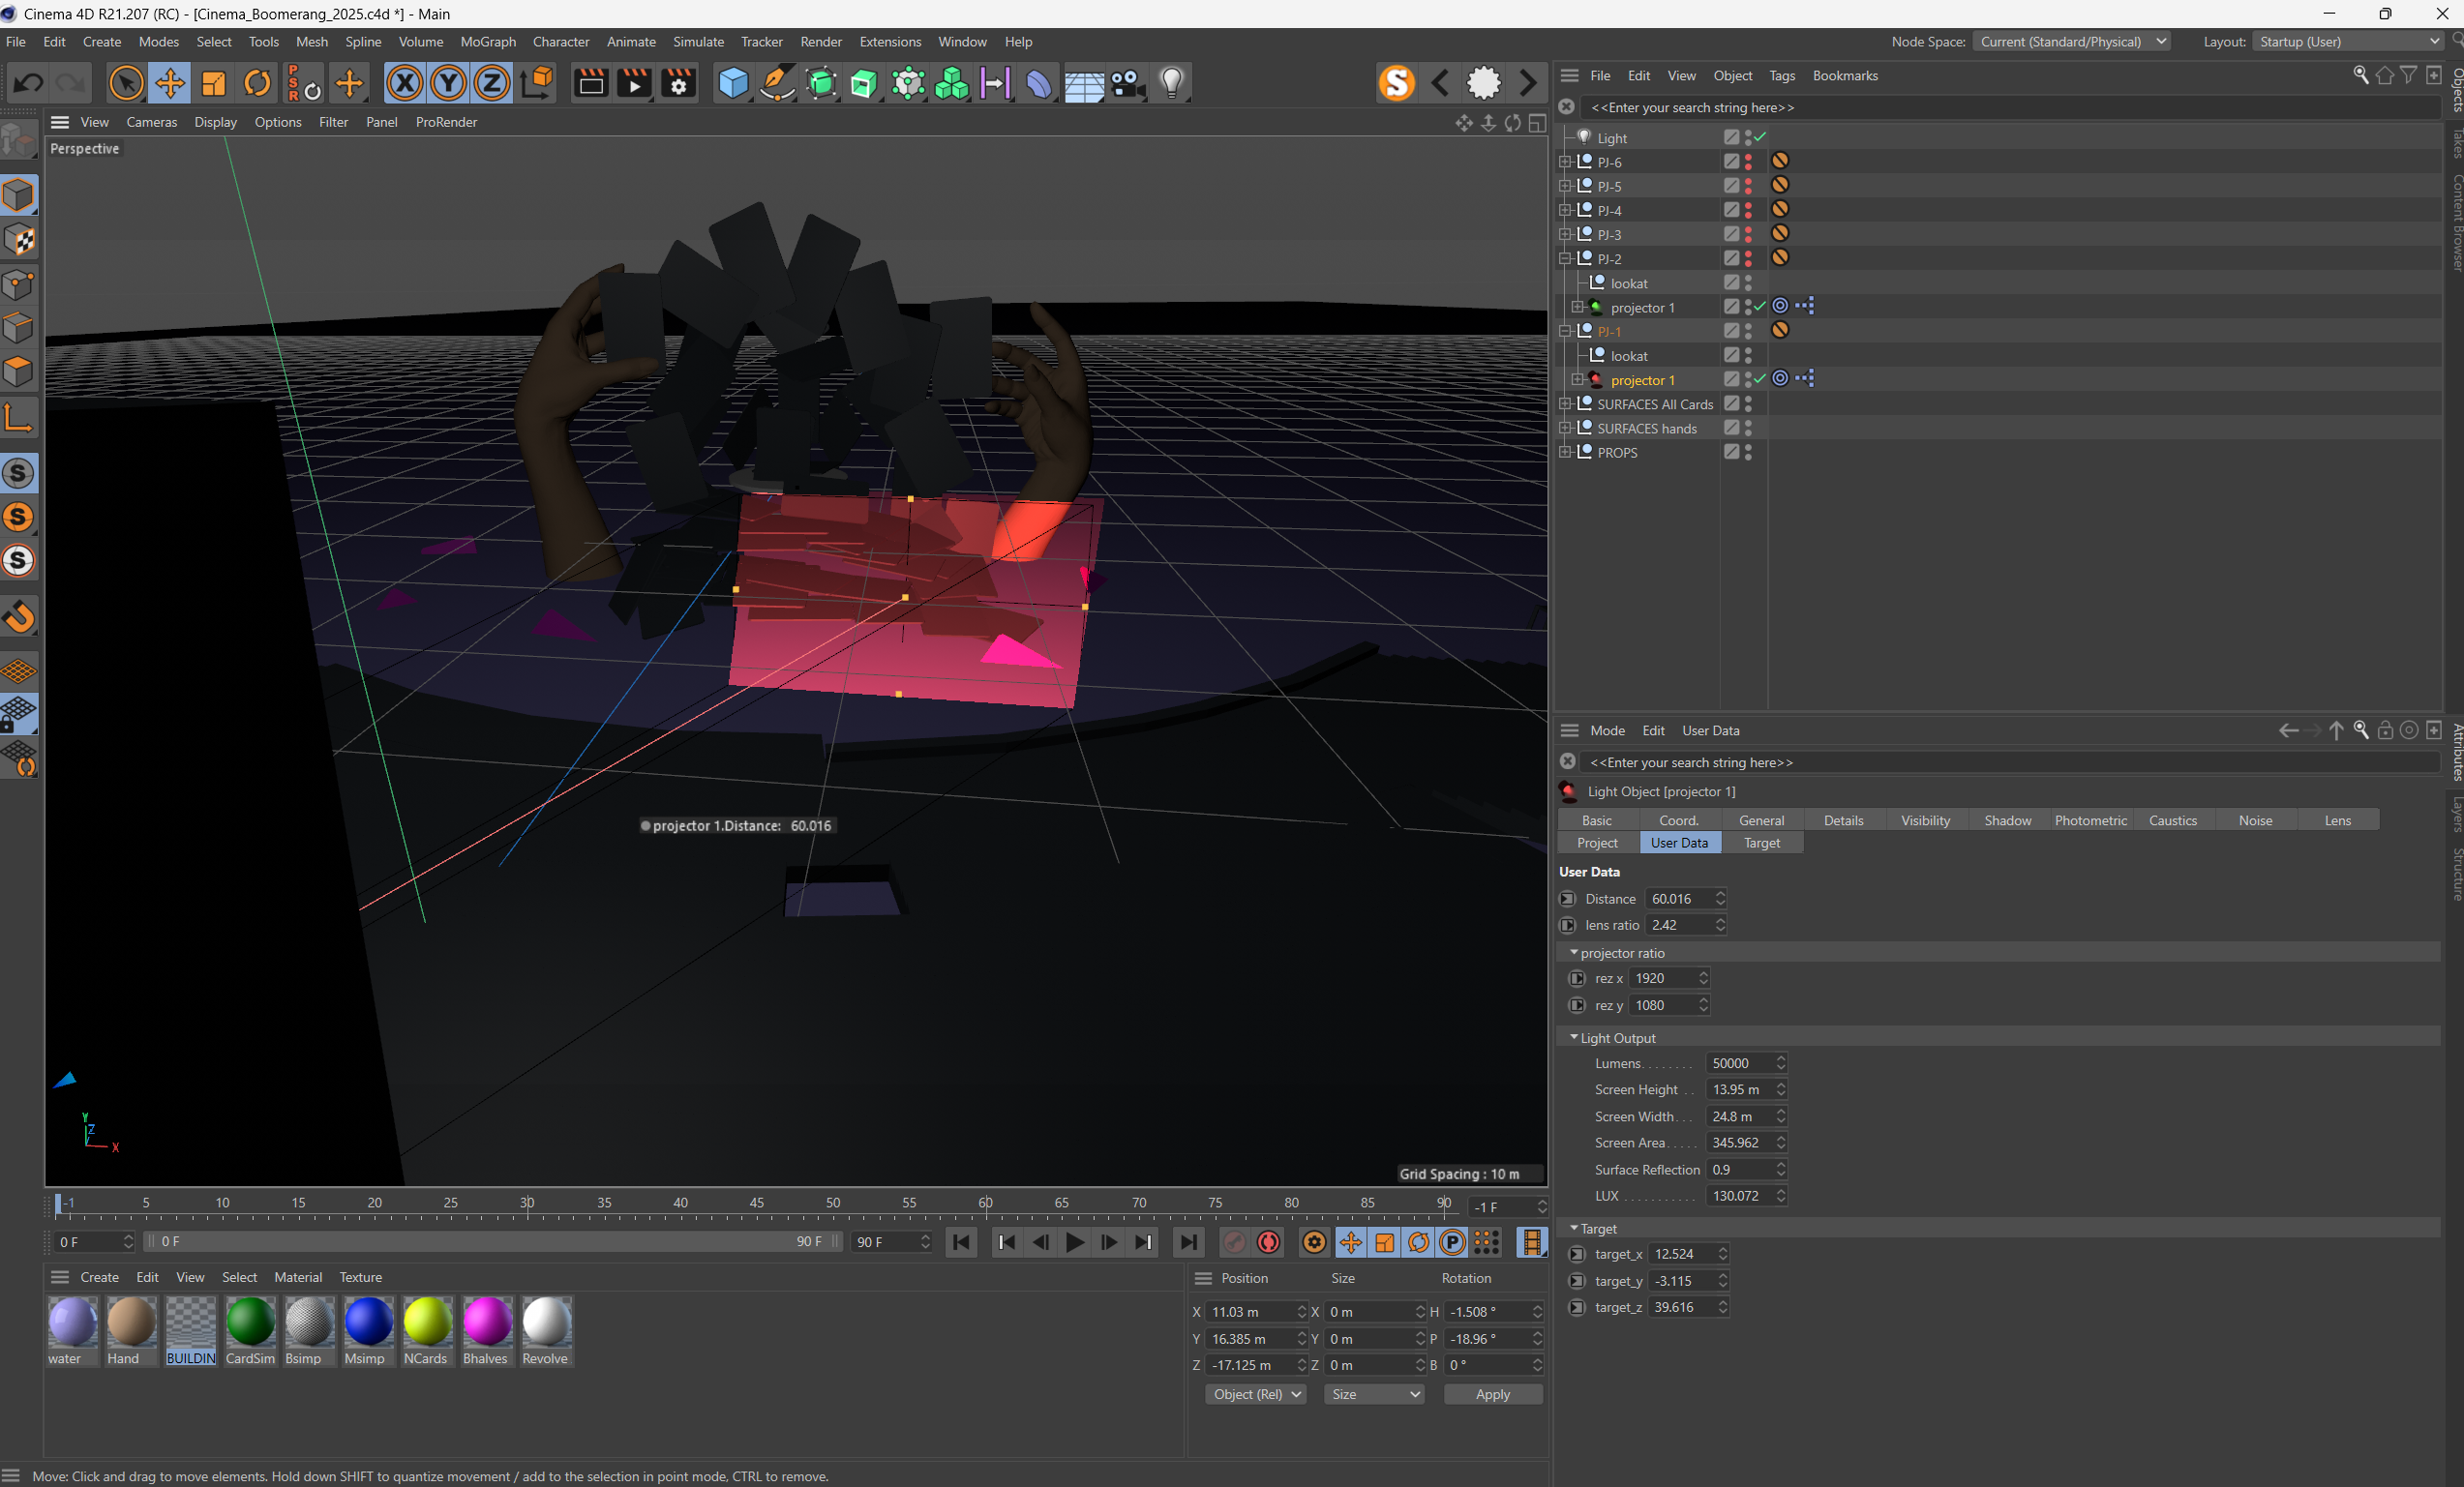
IMPORTANT : The lux is only calculated in a flat plane from the projector exactly where the look-at point is. So if you have a setup where the projector is quite off axis to the surface (like the image below) then there will varying degrees of brightness, the further the light has to travel the darker the resulting lux, and the shorter the distance the brighter the resulting lux
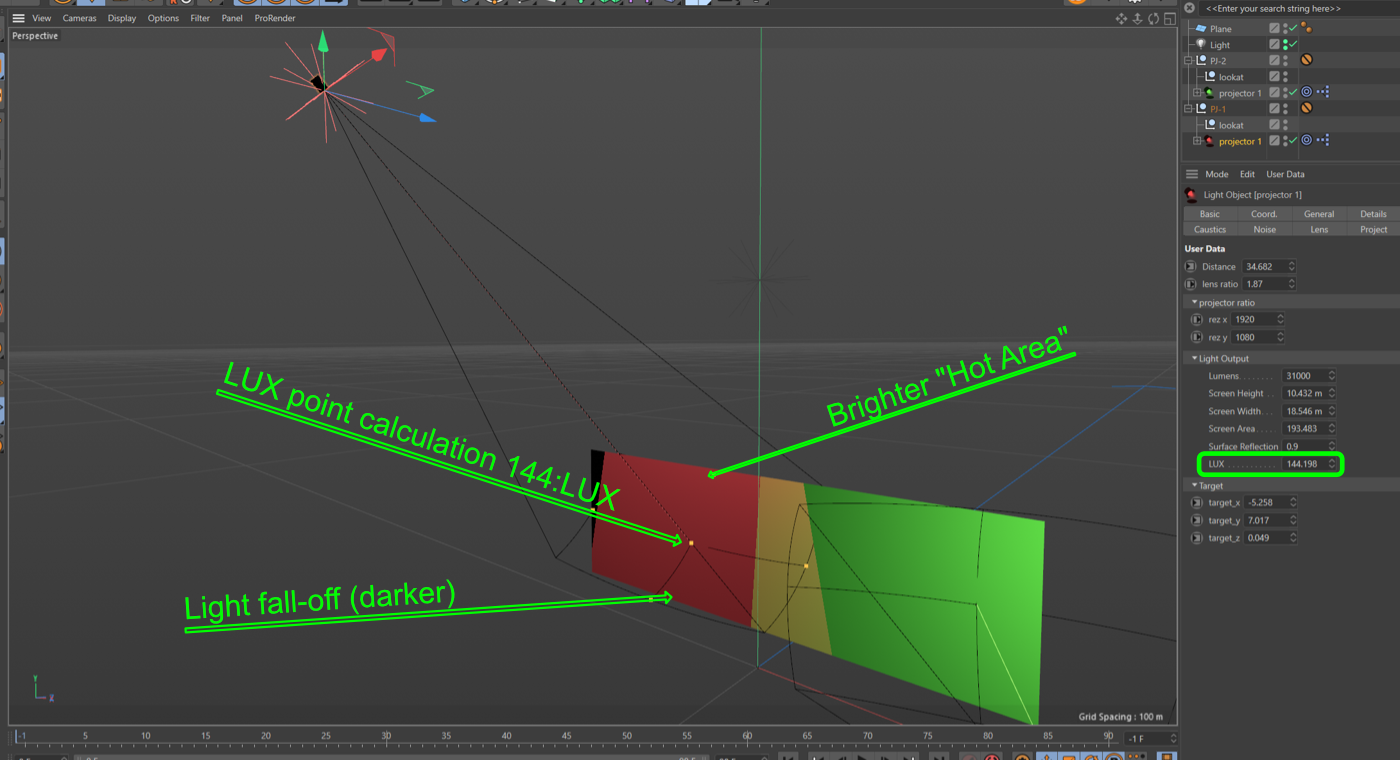
Once you have your coverage with a projector off-axis like this, it is good practice to temporary move the look-at point to the extremes (the resulting dark area) and make sure that lux reading is bright enough in the fall-off region. Again, I cant stress this enough, this tool is great to help with planning and PJ coverage in a 3d space but also a good understanding of how projected light behaves when hitting various surfaces is a must.
STARTING A NEW PROJECT
At the end of this post I’ll link to the boomerang simple setup c4d project which you can use to copy and paste projectors into your own c4d project. The only real prerequisite is that your project scale is set to meters and its usually a good idea to have your units set to meters too.
You can either use the simple setup and build your study within there or you can simply copy and paste the projectors (the whole null group) from the simple setup into your project, the only important part as noted above is that the project is set to meters.
Exporting to the Mapping Matter format
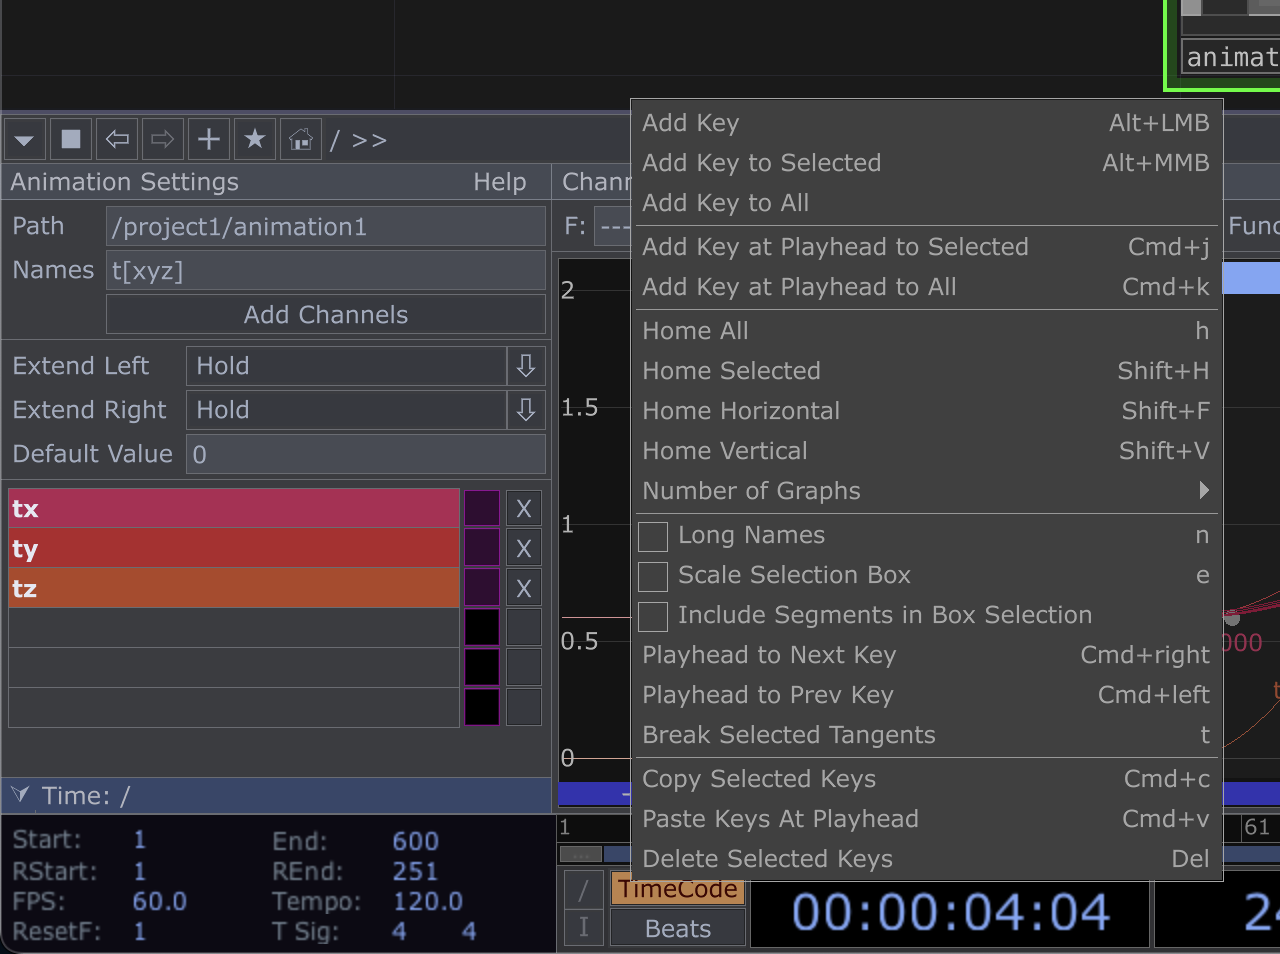
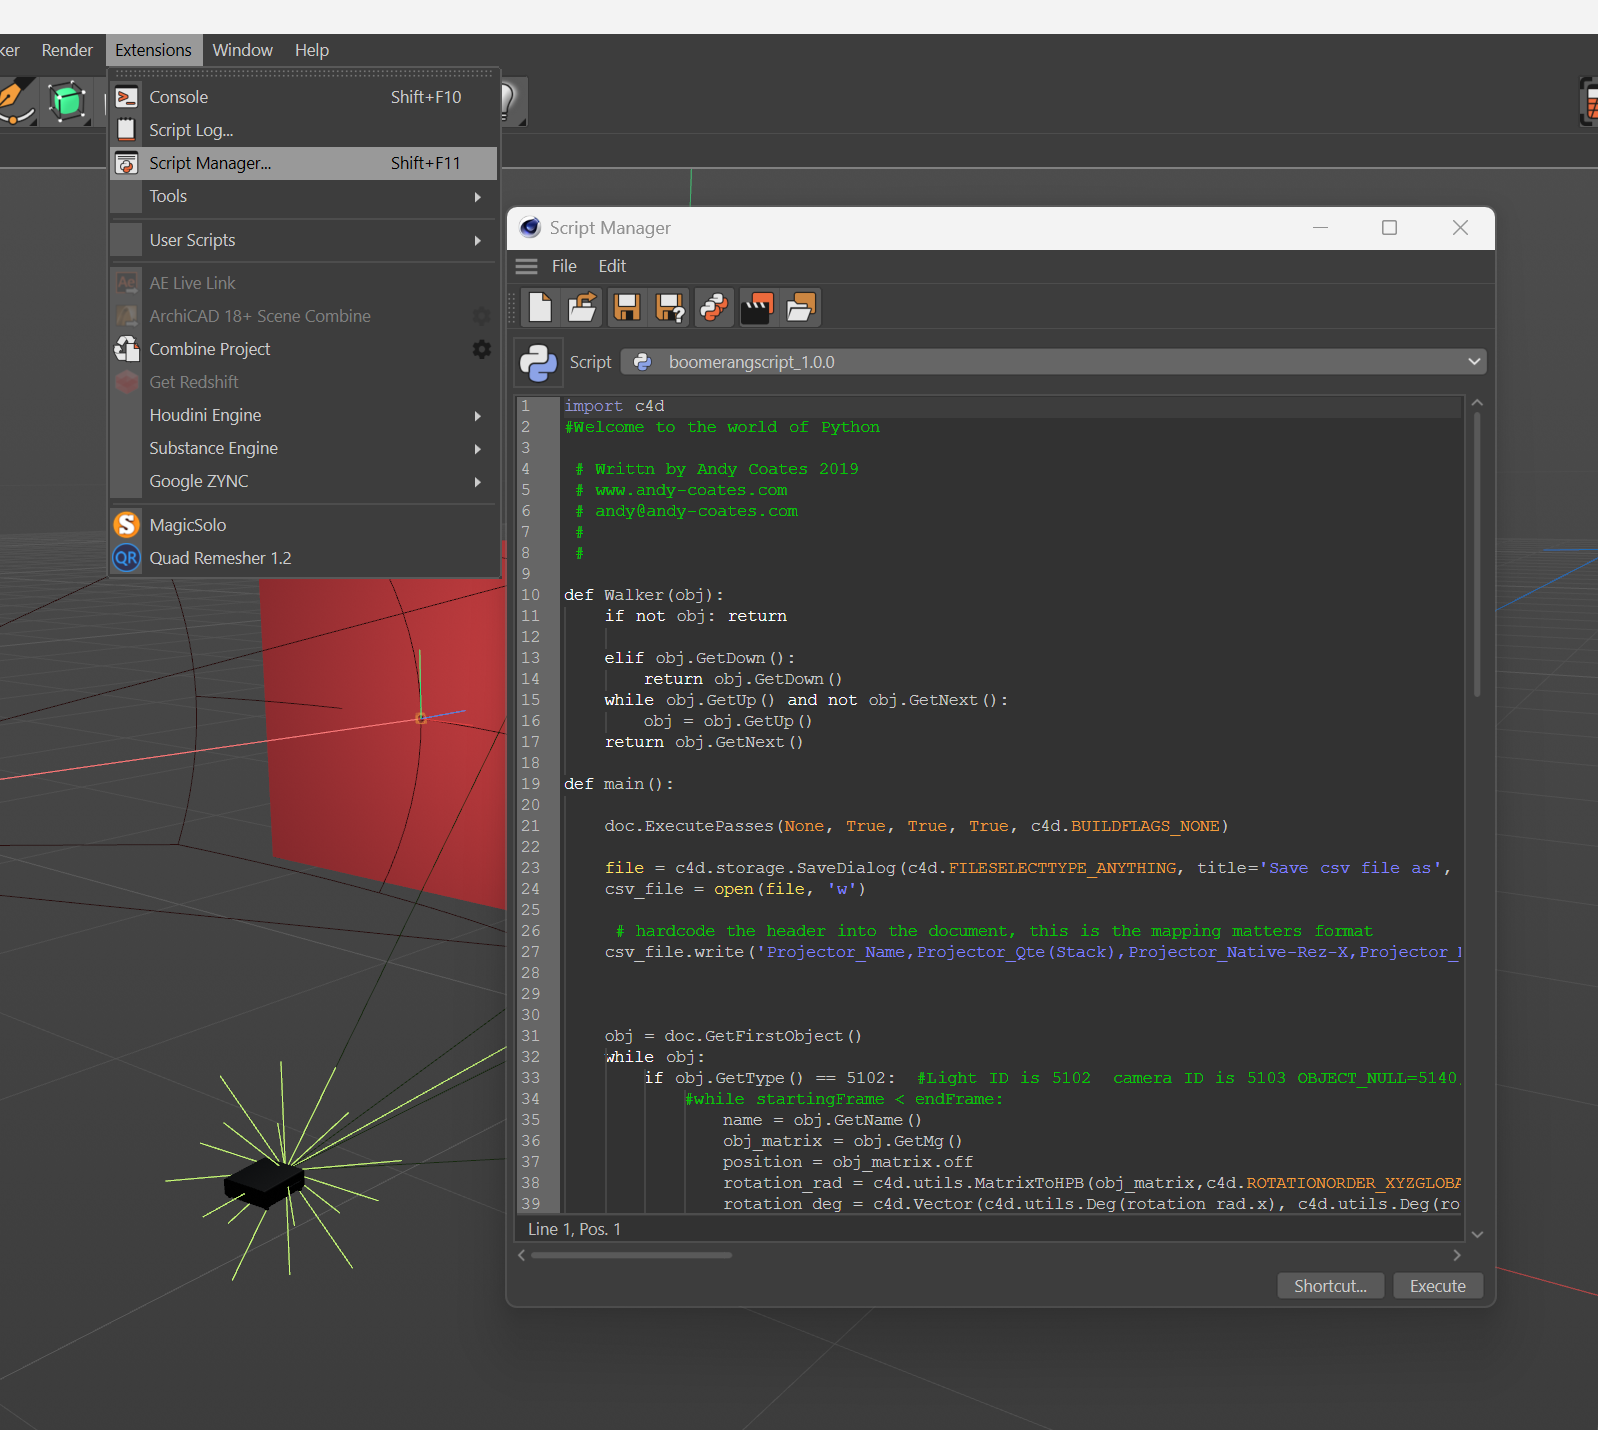
Within the download there is also a python script that exports the projectors to the mapping matter format for ease of use to import into d3. To use this, open the script editor and locate the python file. Before you can export you will need to delete all the lights in your scene else it will fail, I’m still figuring out a way around this.
When you hit export you will be presented with the save to dialogue box to save wherever you like, from here you can import the projectors straight into d3 with the usual method.
Here is a link to download where you should download the whole thing as a zip and then extract, please let me know how you get on with this tool in the comment or drop me an email.